Happy Valentine's Day to all my lovely readers! <3
Unfortunately I couldn't make Valentine's nails for myself, since I have to keep my nails without nail polish for a while because of a piece I'm currently working on... (The background is a collage, and the glue that I'm using kept removing and messing my manicure, so I decided to wait until I finish it.) It's a shame though, I love Valentine's Day! I'll definitely do a late Valentine's mani later... ;D
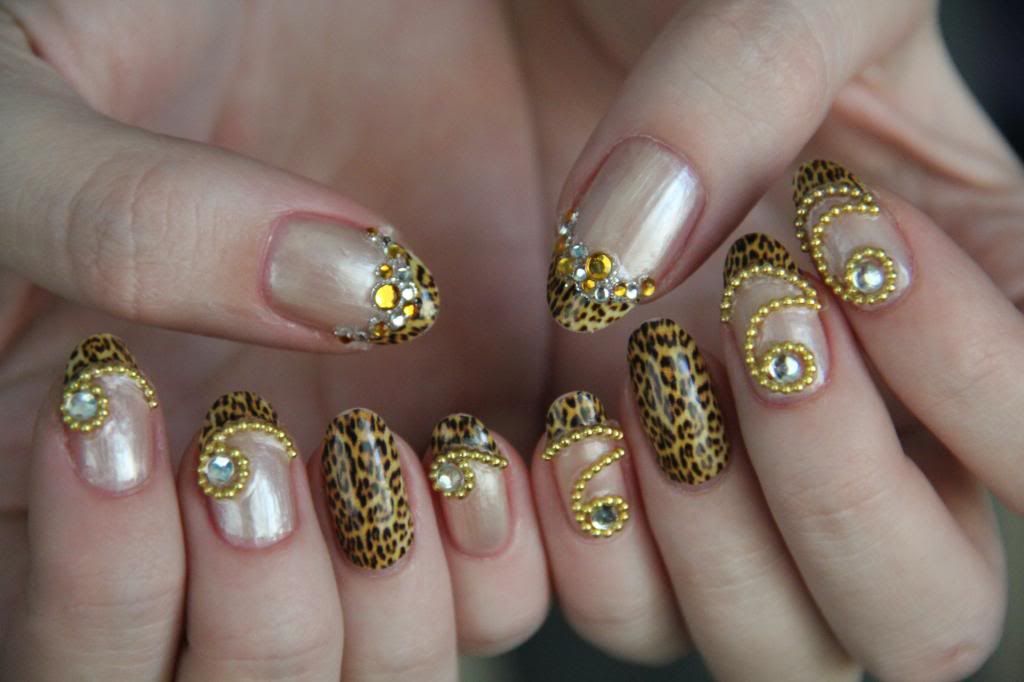
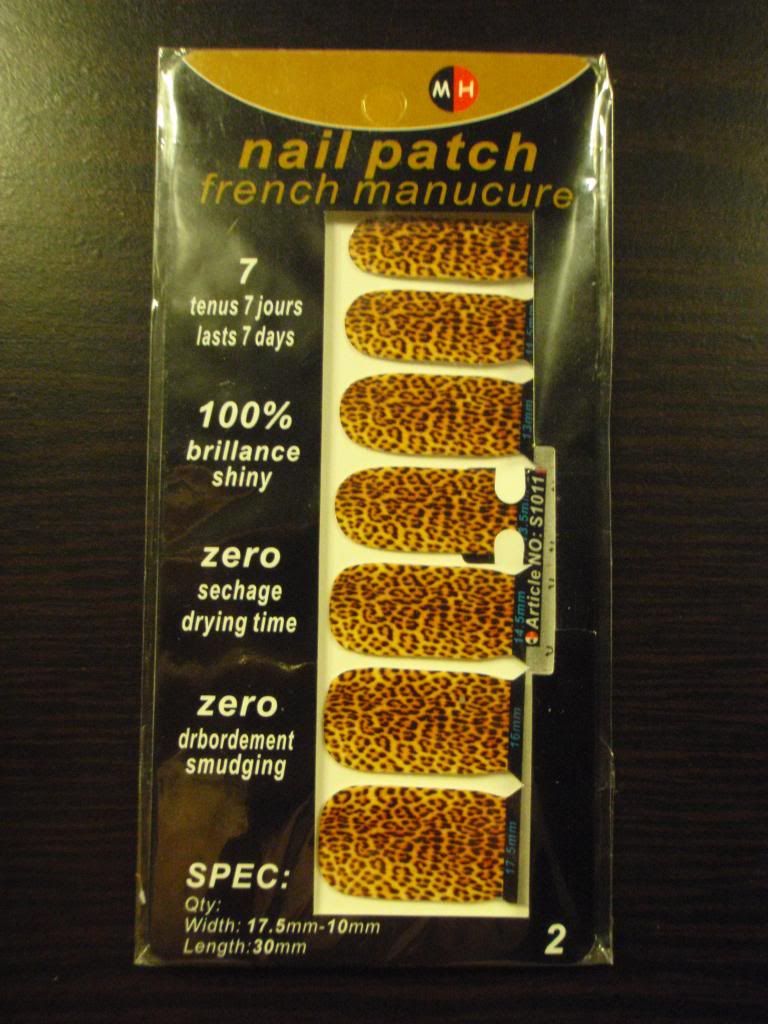
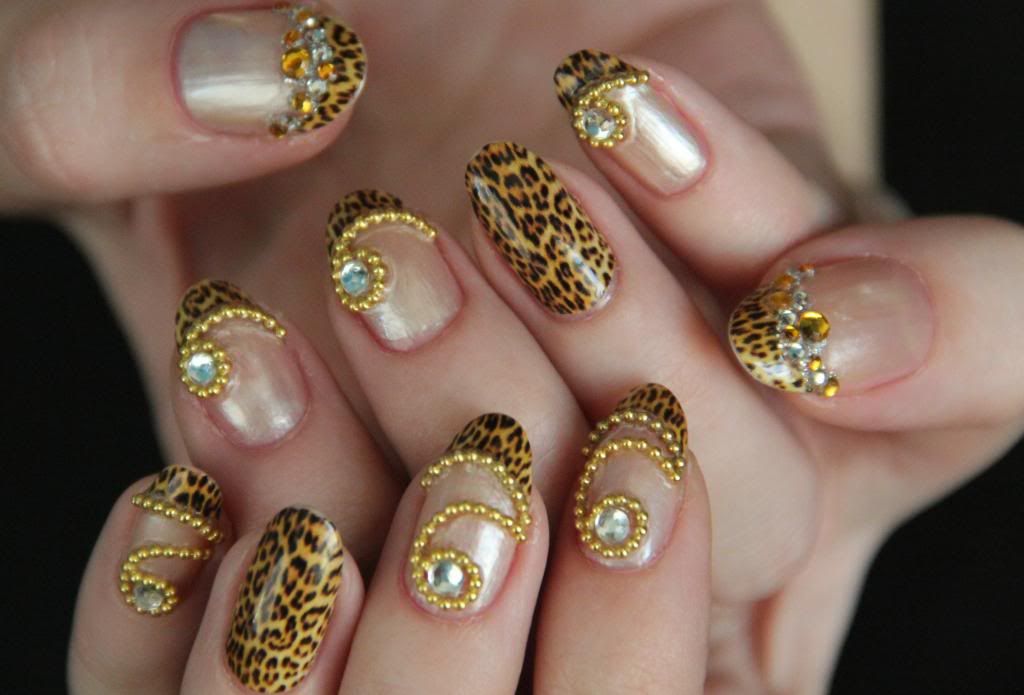
Anyway, I do have another tutorial for you. OMG Nail Strips also sent me nail polish strips to try, and I was actually looking forward to try these more than the nail foils, because I got the idea that these would work better on curved nails. So I saved the best for last! I chose the Cheetah Nail Polish Strips, because I wanted something I couldn't create by stamping or polishing. Also I love animal prints on nails! Here's how they turned out:
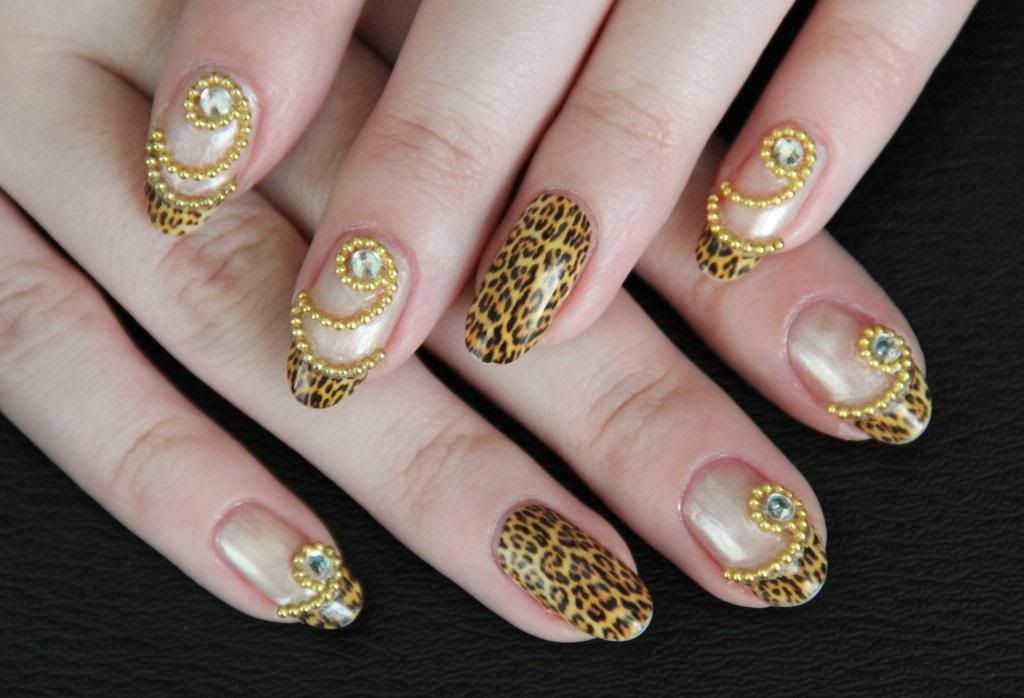
I love them! Since nail polish strips are very easy to use, I wanted to do something extra...and then I maybe went a bit over the top. :'D Now for the tutorial:
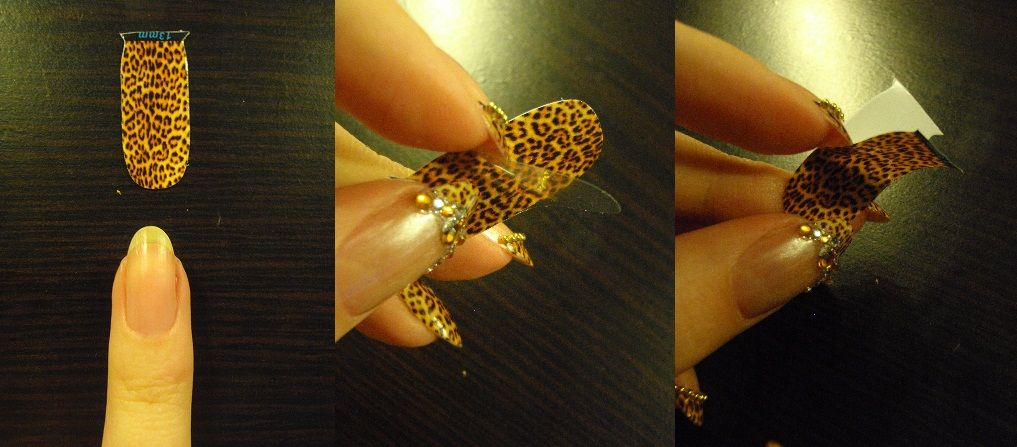
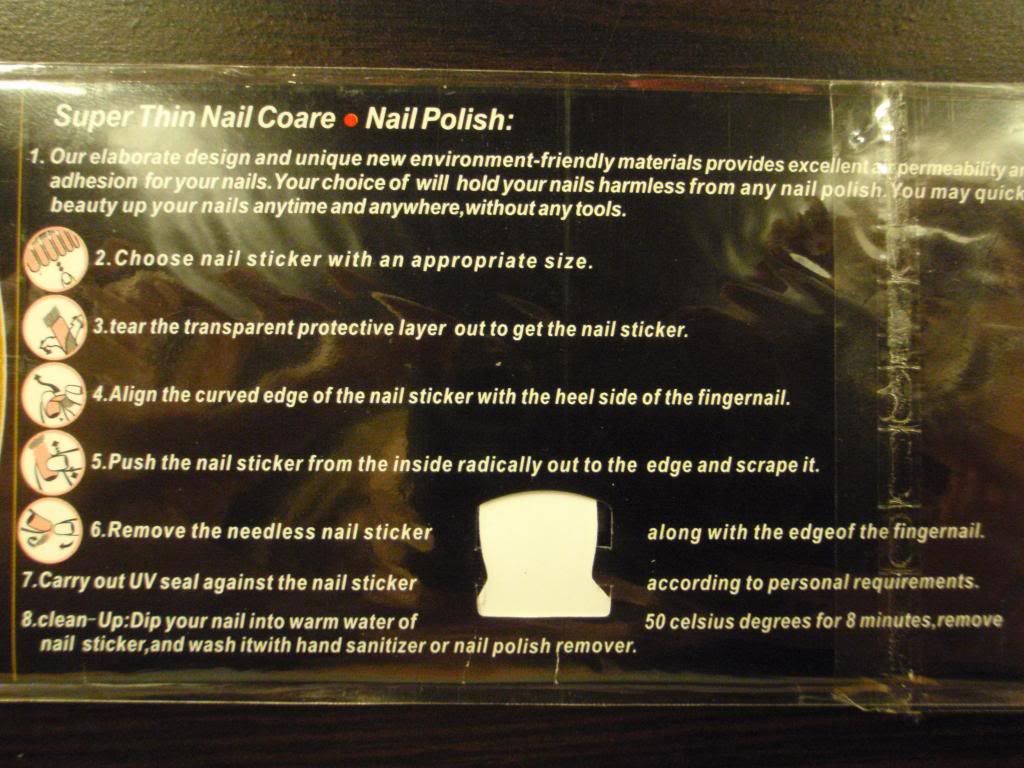
1. Pick the size that fits on your nail the best.
2. Remove the clear plastic from the top of the nail strip.
3. Remove the paper from the bottom.
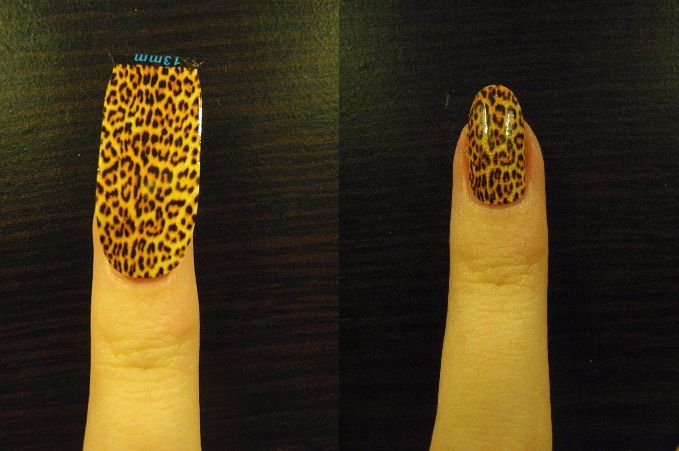
4. Place the nail strip on your nail so that the round edge is towards the cuticle. It doesn't matter if the nail strip is too long, you cut the extra off later.
5. Push the nail strip with your finger starting from the middle towards the edges. You can strecth the sticker to fit perfectly even on curved nails. Smooth out any bumps or wrinkles with your finger and remove the excess nail strip from the tip with nail scissors or file and smoothen the edge of the nail strip by pressing it firmly on the tip of your nail. Top coat isn't necessary, since the nail strip itself gives a shiny finish, but I thought that it would secure the edges from peeling off.
I'm actually in love with these now, I love the fact that these are stretchy and the end result is so smooth! Even though I eventually found a way to apply nail foils smoothly (my previous post), the nail polish strips are so much easier to apply, and even get a better result! Also, needless to say, that print is just gorgeus.
I wanted to save some of these for another manicure, so I only did two nails with full cheetah print and just the tips for the rest. You don't need base coat with these, so I just did the tips first and then applied base coat and Winmax Nail Sparks 87 on the rest of the nail, not polishing over the tip. Then I added a layer of top coat and sticked the micro pearls and rhinestones on the wet polish, and added one more top coat layer over the decorations to keep them at place. Despite all the 3D stuff poking out, these surprisingly lasted for over a week, until I decided to change them. :)
What do you think? Any experiences with nail polish strips, good or bad? :)
Ihanat! ja kalliin näköset :) hyvää ystävänpäivää!
ReplyDeleteIhan huiman hienot :)!!!
ReplyDeleteKiitoksia kaikille! ^_^
ReplyDeleteNo,vähän on upeet!!!
ReplyDelete