Hello everyone! ^^
I've always been very curious about nail foils and nail polish strips, but also quite precautious about whether they would work for me or not, since my nails are so curvy. :P I mean, I love the idea of an easy way to create complicated designs, but I've always had trouble to make even slightly larger than usual stickers to settle nicely on my nails, so what would happen with stickers that cover my entire nail? Because I wasn't sure I would like the result, I just kept to regular nail polish. However, couple weeks ago I was contacted by OMG Nail Strips, asking if I would be interested in trying free samples of their nail polish strips or nail foils. Of course I was interested! :D Finally a chance to find out what these things are all about. :)


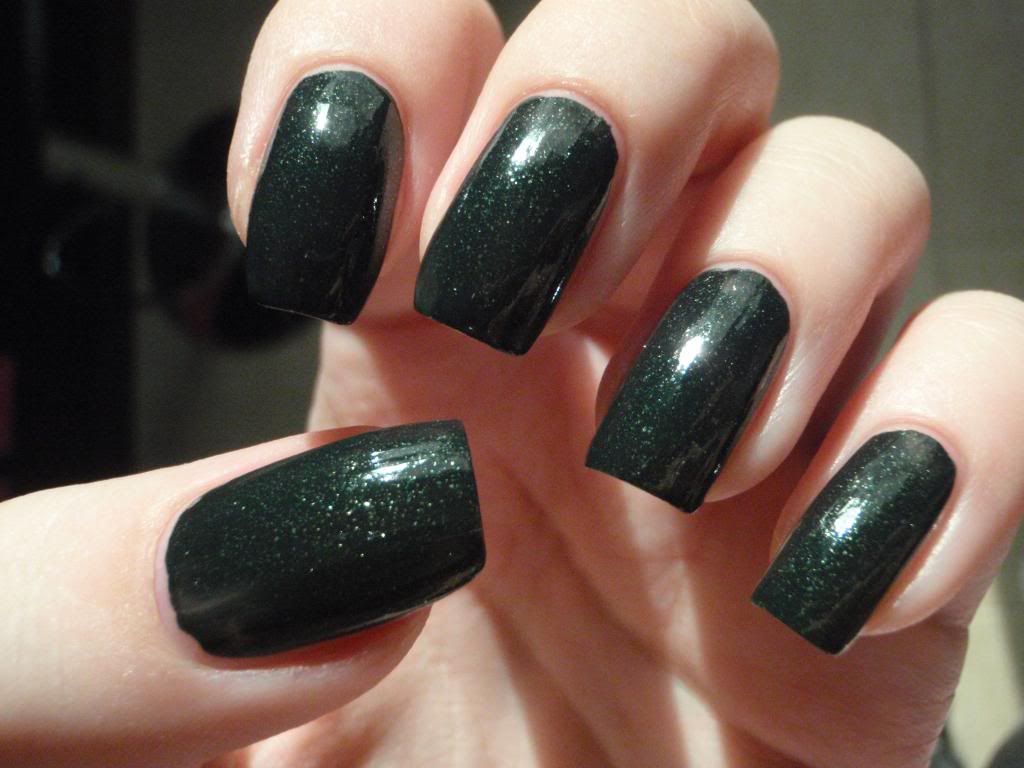
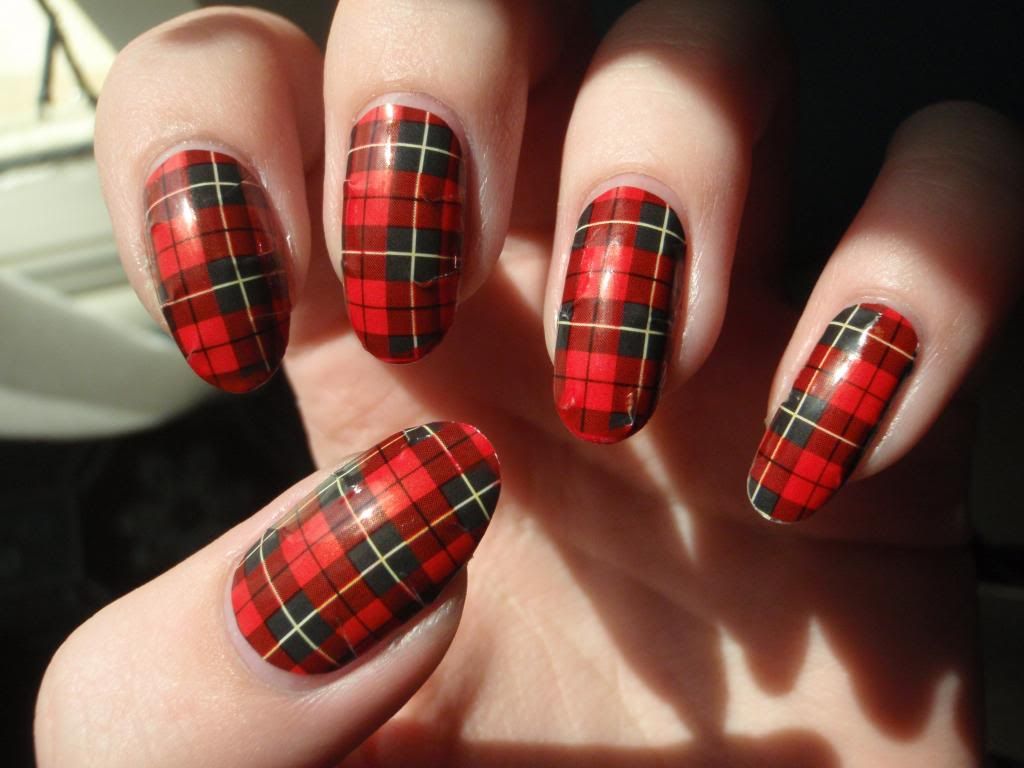
First I wanted to try the nail foils, and this is how they turned out. :) As you can see I also changed my nail shape! I've always liked my nails square, but now I wanted something different. I've had round nails once before, but I didn't really like them... Probably because I didn't make them round enough and they were too long. :P Anyway, this time I really like them!
Now for the tutorial:

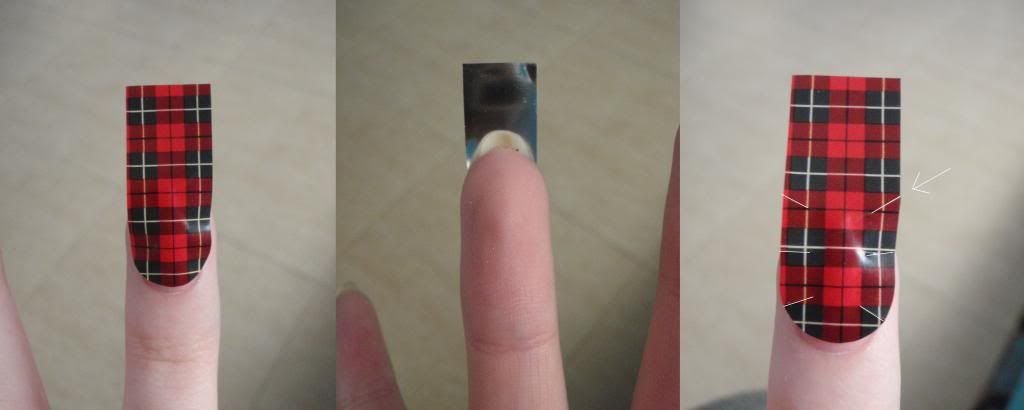
1. Pick the right size. Do not use base coat, the nail foils should be applied on clean nails!
2. You don't have to shorten it yet, just make sure the foil is wide enough to cover your whole nail.
3. I had some trouble making the foil stick to my nail smoothly without bumps or wrinkles, so I came up with my own method of applying them. Cut the foil from edges towards the center as shown in the picture, depending on the length of your nails.

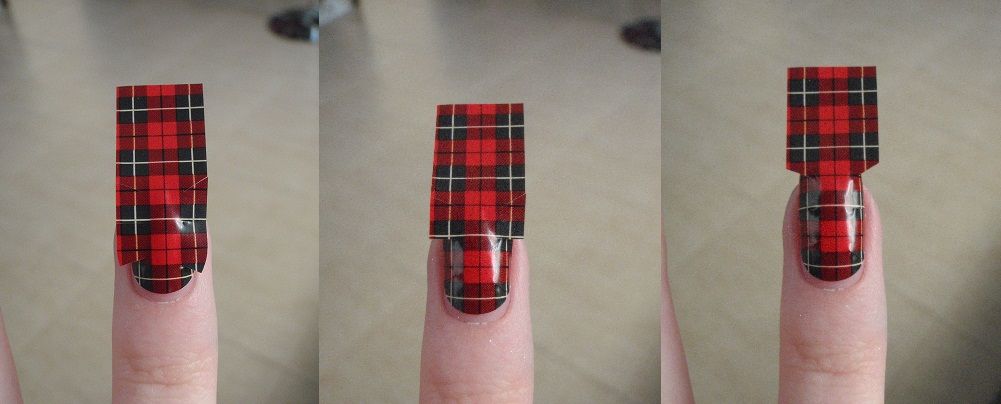
4.-6. Start pressing the tears on the nail surface from bottom to top, as shown in the picture. Rub them firmly to make them stick smoothly.

7. Rub the last bit firmly on the tip of your nail. It should look like this at this point. ^

8. Cut the excess foil from the tip.
9. File the edge to make it smooth, and add top coat. The top coat isn't necessary, but I found it made my nails smoother and made the edges stick better.

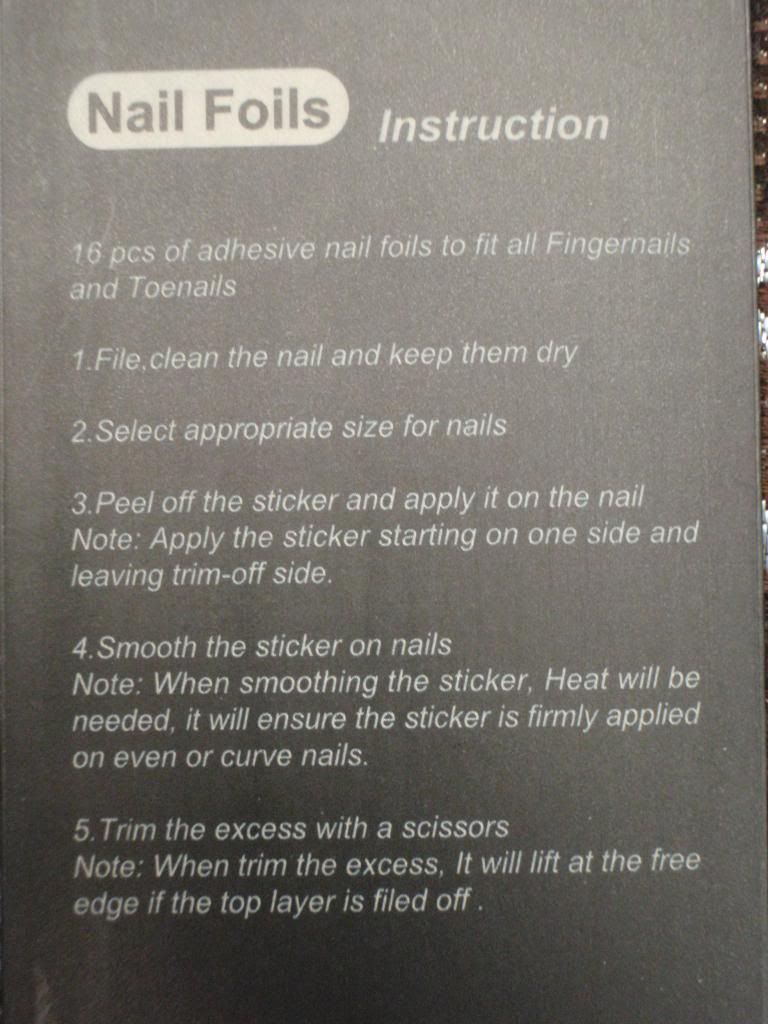
And you are done! As I expected, I struggled to apply the foils smoothly, but after I came up with the solution I'm quite happy with the result. :) One thing I didn't quite understand though, was the bit in the instructions that said 'heat will be needed'. How was I supposed to apply heat? :'D The nail foil design I chose is Red Plaid, although it was a difficult choice... Click the link for more details of the product!
Next up, the nail polish strips! ^^
I've always been very curious about nail foils and nail polish strips, but also quite precautious about whether they would work for me or not, since my nails are so curvy. :P I mean, I love the idea of an easy way to create complicated designs, but I've always had trouble to make even slightly larger than usual stickers to settle nicely on my nails, so what would happen with stickers that cover my entire nail? Because I wasn't sure I would like the result, I just kept to regular nail polish. However, couple weeks ago I was contacted by OMG Nail Strips, asking if I would be interested in trying free samples of their nail polish strips or nail foils. Of course I was interested! :D Finally a chance to find out what these things are all about. :)


First I wanted to try the nail foils, and this is how they turned out. :) As you can see I also changed my nail shape! I've always liked my nails square, but now I wanted something different. I've had round nails once before, but I didn't really like them... Probably because I didn't make them round enough and they were too long. :P Anyway, this time I really like them!
Now for the tutorial:
1. Pick the right size. Do not use base coat, the nail foils should be applied on clean nails!
2. You don't have to shorten it yet, just make sure the foil is wide enough to cover your whole nail.
3. I had some trouble making the foil stick to my nail smoothly without bumps or wrinkles, so I came up with my own method of applying them. Cut the foil from edges towards the center as shown in the picture, depending on the length of your nails.
4.-6. Start pressing the tears on the nail surface from bottom to top, as shown in the picture. Rub them firmly to make them stick smoothly.

7. Rub the last bit firmly on the tip of your nail. It should look like this at this point. ^

8. Cut the excess foil from the tip.
9. File the edge to make it smooth, and add top coat. The top coat isn't necessary, but I found it made my nails smoother and made the edges stick better.
And you are done! As I expected, I struggled to apply the foils smoothly, but after I came up with the solution I'm quite happy with the result. :) One thing I didn't quite understand though, was the bit in the instructions that said 'heat will be needed'. How was I supposed to apply heat? :'D The nail foil design I chose is Red Plaid, although it was a difficult choice... Click the link for more details of the product!
Next up, the nail polish strips! ^^