Sunday, March 17, 2013

Be A Dahlia Won't You?

Hello everyone! ^^
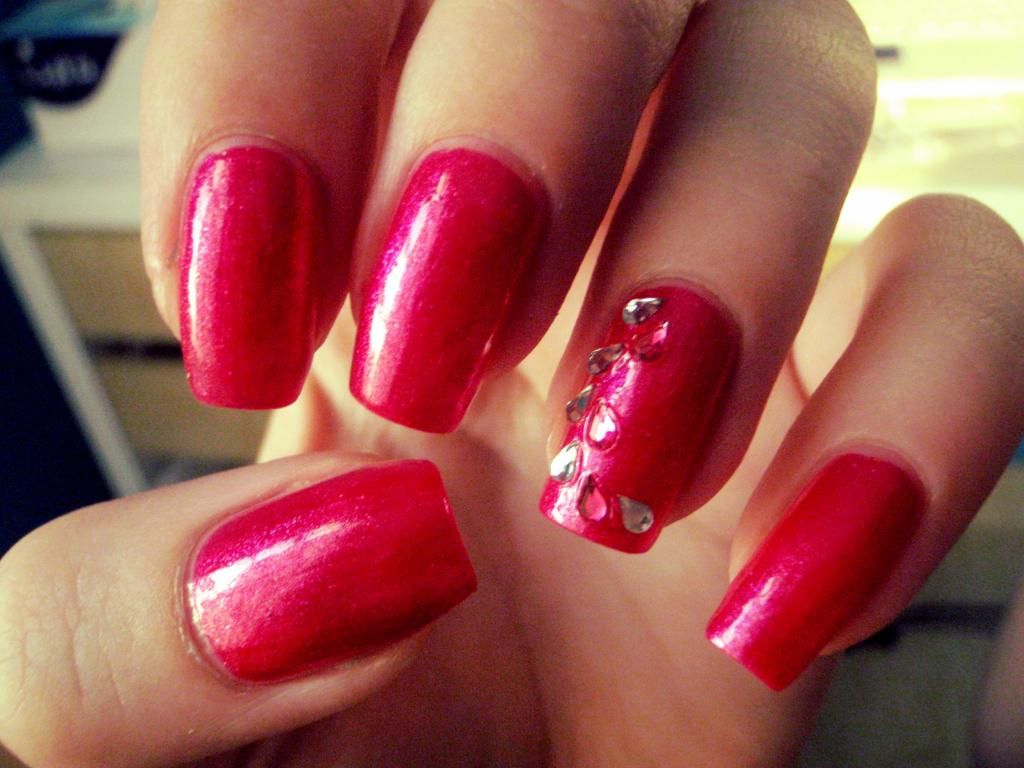
This time I have another mani I made a while back, hence the square shaped nails. :)


Be A Dahlia Won't You is one of my favorite OPI polishes, such a beautiful and bright pink! I usually combine this polish with flowery decorations, and this time I used petal-shaped rhinestones on the ring-finger.


As almost all my favorite polishes, this one is really challenging to capture into photos... :P But I think I got the colour almost right in the first pic.
See ya'll soon! x

Wednesday, February 27, 2013

Blue mani w/ Rhinestones

Hello everyone!
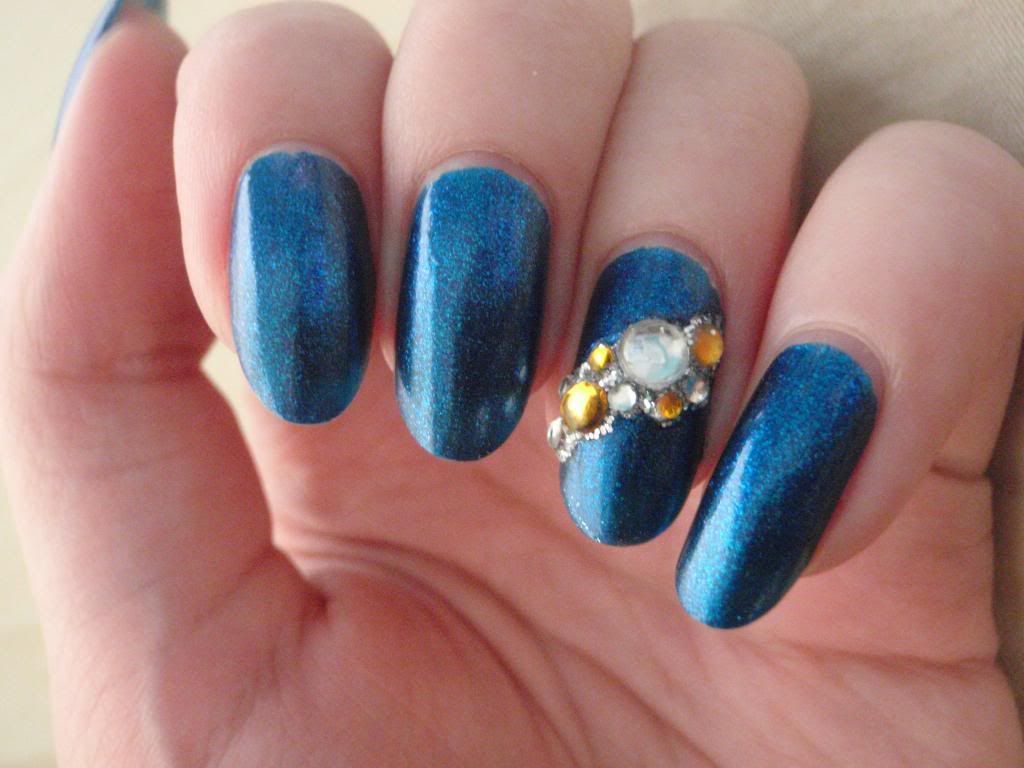
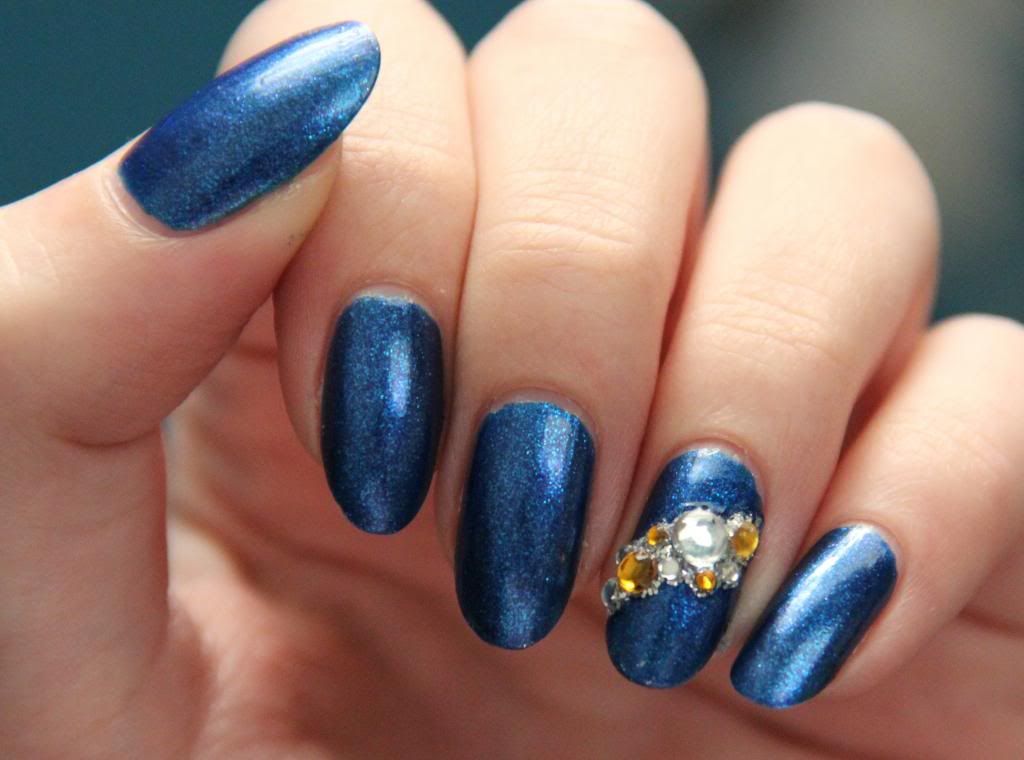
I had my nails done at Tips & Toes few weeks ago and just realized that I never posted them! I didn't actually take a photo of them straight after, but luckily the polish lasted for a couple weeks without chipping so I took pictures after I cut my nails round and decorated them with rhinestones:


See what I mean? These photos are taken after a week and the polish still looks flawless! That's why I love to have my nails done by a professional, somehow they just make the polish last longer. :D I also love the colour, unfortunately I forgot to check the name of the polish, but the brand is Tito.


Off the topic: has anyone else been having problems with their blogger account? I can't see my blog list after I sign in, and also blogger struggles to save my drafts... Which is why I had to write this post twice. :P Also some anonymous is spamming my blog with random comments. This is very annoying, since I get several comments a day, all about some random topics that don't even relate to my blog in any way, and some are even copy-pasted in different posts... seriously?? =_=
Anyway, hopefully I get rid of the problems soon, that's all this time! ^^

Monday, February 18, 2013

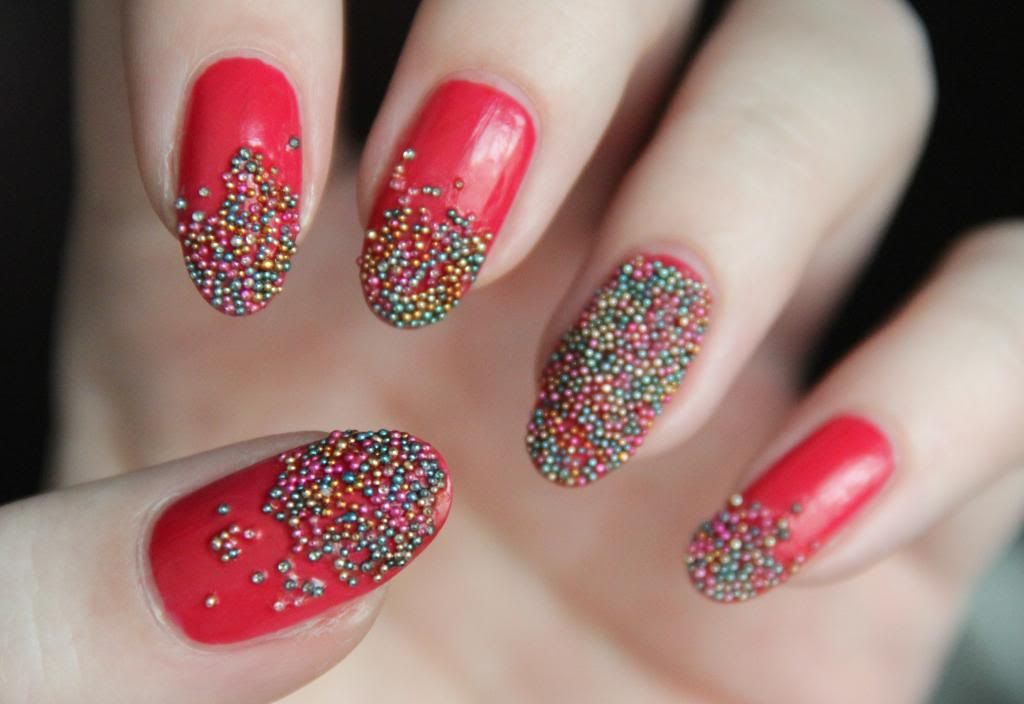
Caviar Nails x2

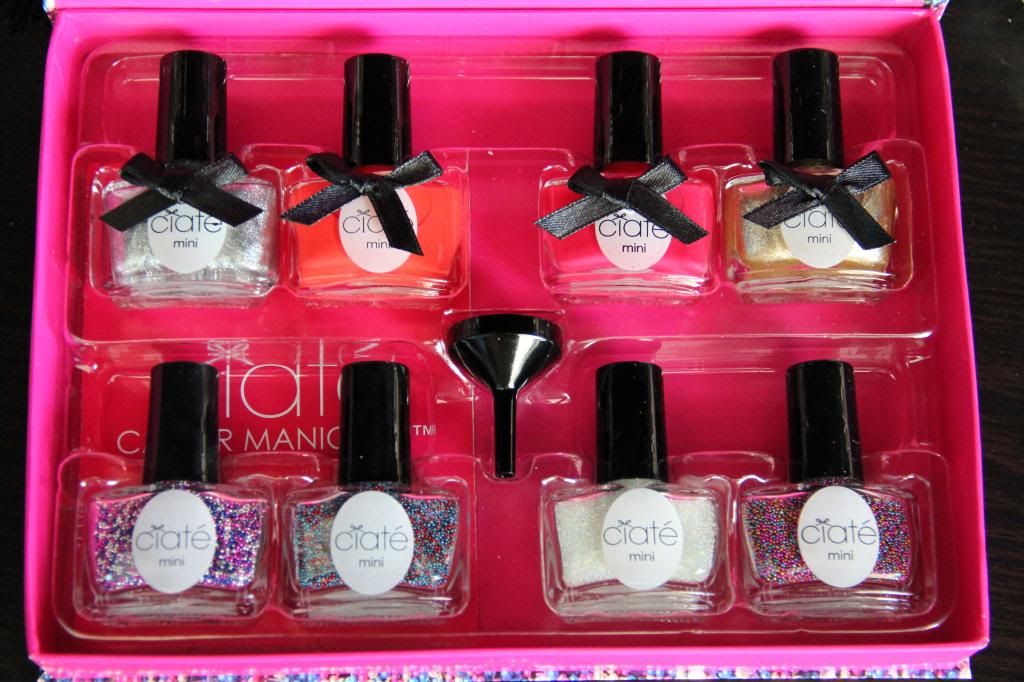
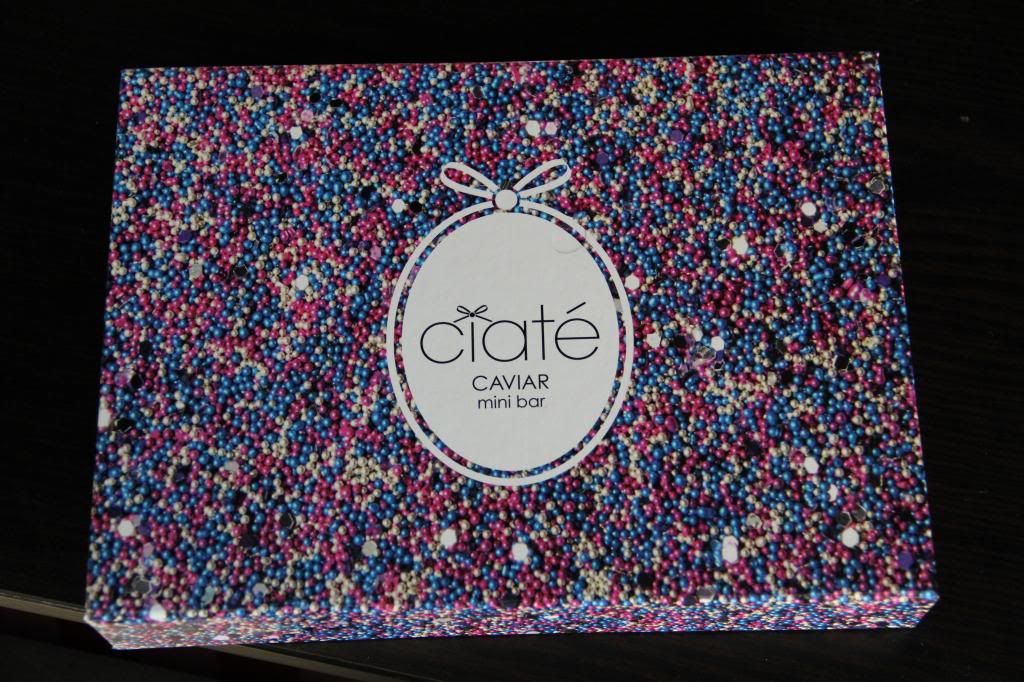
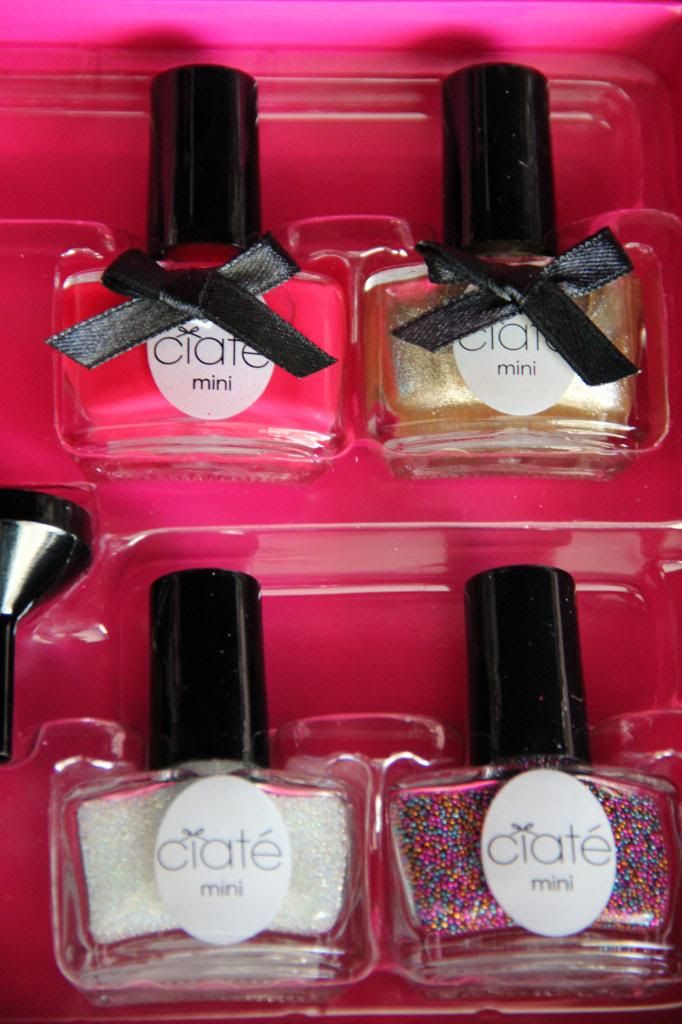
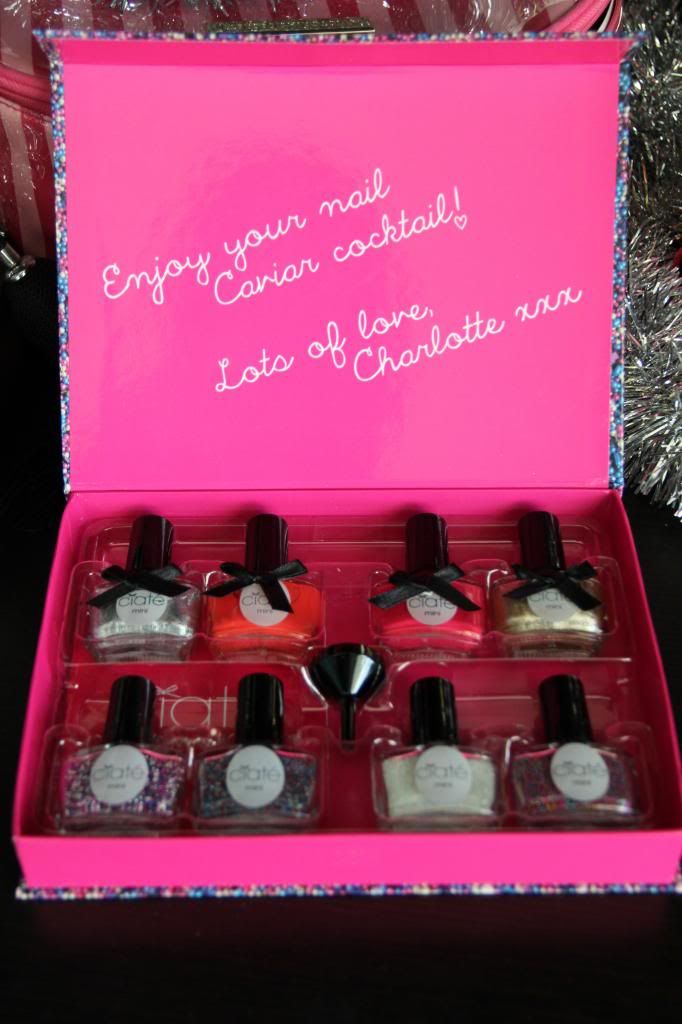
I finally got my own caviar manicure set! :D I know I'm so late with this trend, but better late than never right. I actually found myself a set of four different Ciaté mini-polishes and caviar pearls as a promotion during the Shopping Festival (I should actually do a post about that, I got so much cool new stuff... :D), altogether 195 dhs (roughly 40€) from Sephora. I don't know if I would've been able to find these cheaper online, but since I hate ordering stuff, I always try to find what I want from actual shops... If that even makes any sense. :'D So yeah, here they are:

the caviar polishes from left to right: fit for a queen, pom pom, knickerbockerglory and sand dune.

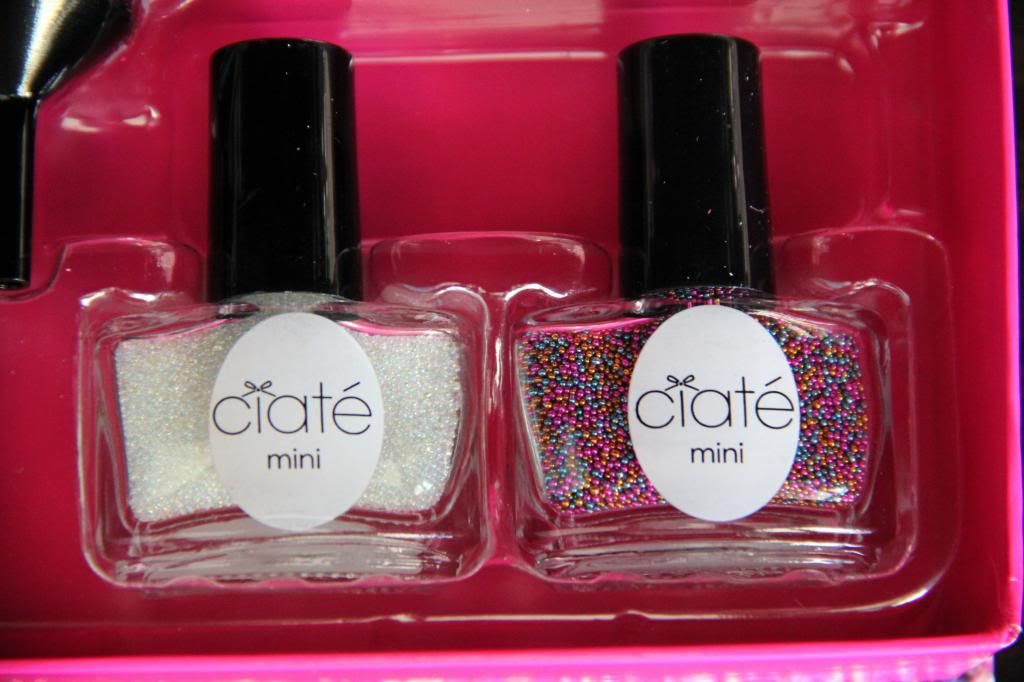
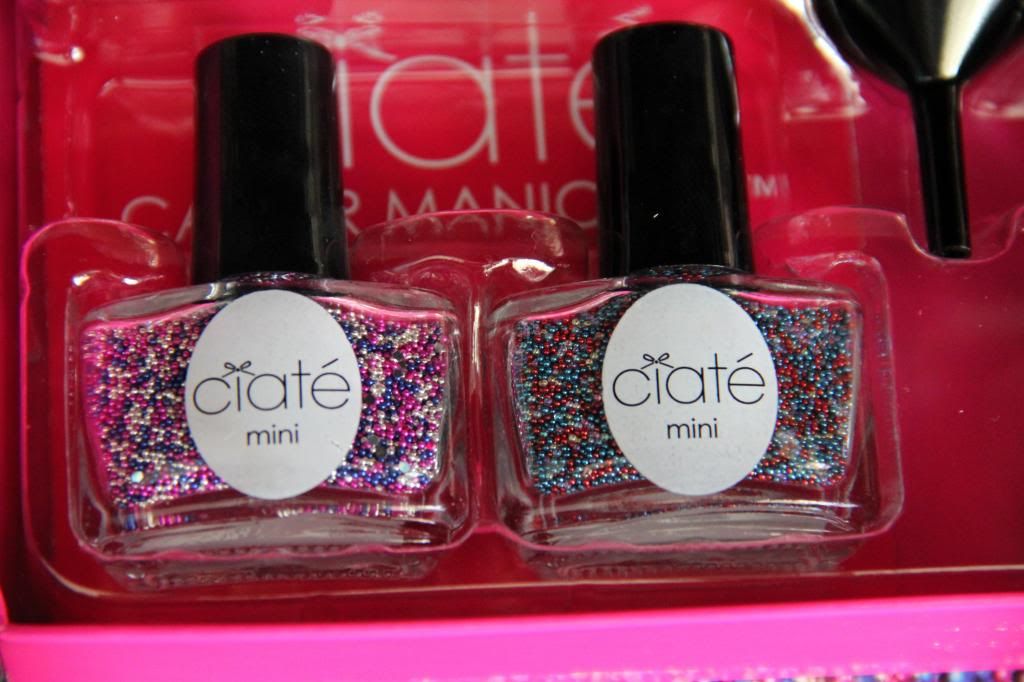
Aren't they adorable? :D Some close-ups:

hologram & candyshop
prom queen & jubilee

I actually decided to share these with my sister, since it was then four polishes each. I kept the polishes and the pearls which you can see in the photo above. :)
Here's my first caviar manicure:

I used knickerbockerglory polish and candyshop pearls.
I like. :) The little caviar pearls are so cute! I messed up my ring finger a bit with top coat, I know it's not necessary, but I figured it might keep the beads in place for longer. Well, maybe so, but it also took some colour away... Learnt my lesson there. I was expecting these to start coming off quite soon, but surprisingly they lasted for a week, only a few came off! Then I also did my sister's nails:


For her nails I used my pink Skinfood polish,  except on her left ring finger, in which I used the golden Ciaté polish, and the holographic caviar pearls. This was a bit of an experiment, just to see how the beads work on different polishes. I must say I like it on both polishes! :)

Love them! :D
Oh, one last thing: I finally joined Instagram! :'D Follow me for daily pics of things I like, my art & nail-art!


See you all soon x

Thursday, February 14, 2013

Nail polish-strip Tutorial

Happy Valentine's Day to all my lovely readers! <3
Unfortunately I couldn't make Valentine's nails for myself, since I have to keep my nails without nail polish for a while because of a piece I'm currently working on... (The background is a collage, and the glue that I'm using kept removing and messing my manicure, so I decided to wait until I finish it.) It's a shame though, I love Valentine's Day! I'll definitely do a late Valentine's mani later... ;D
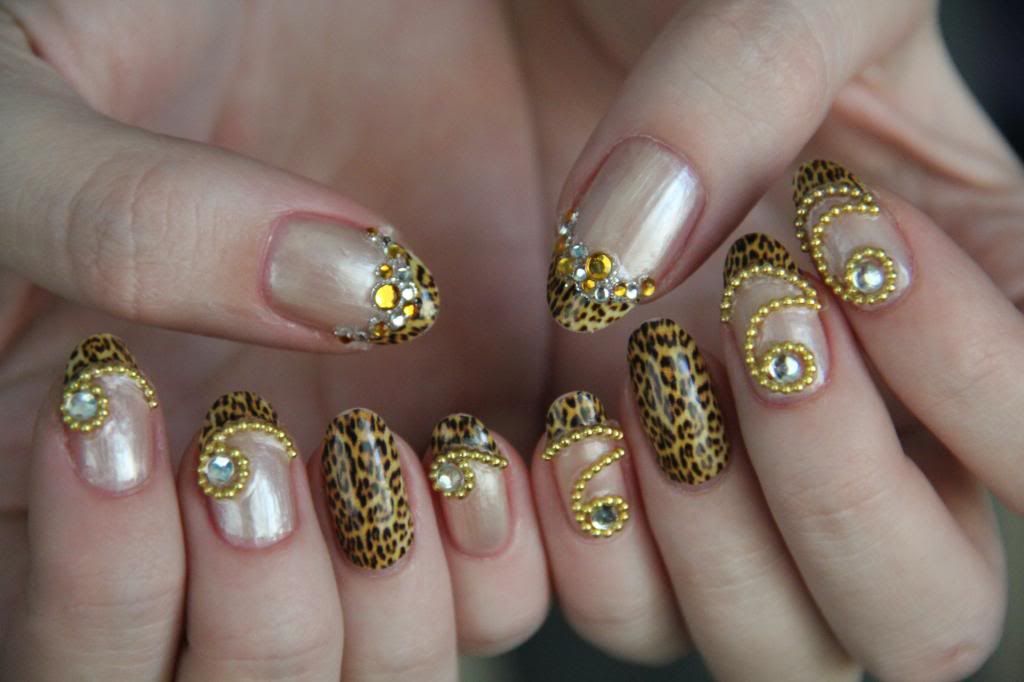
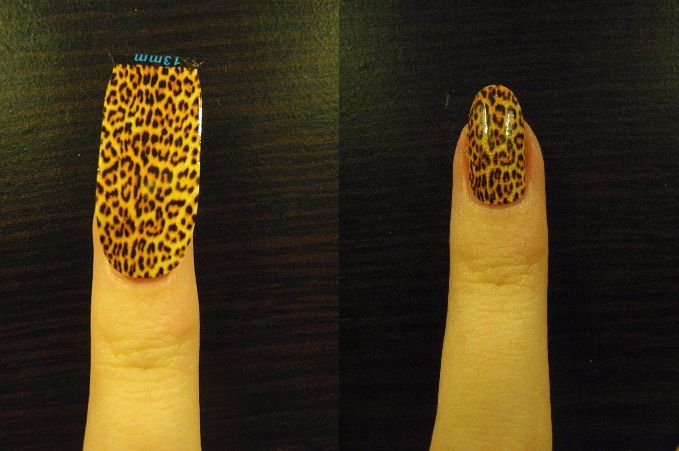
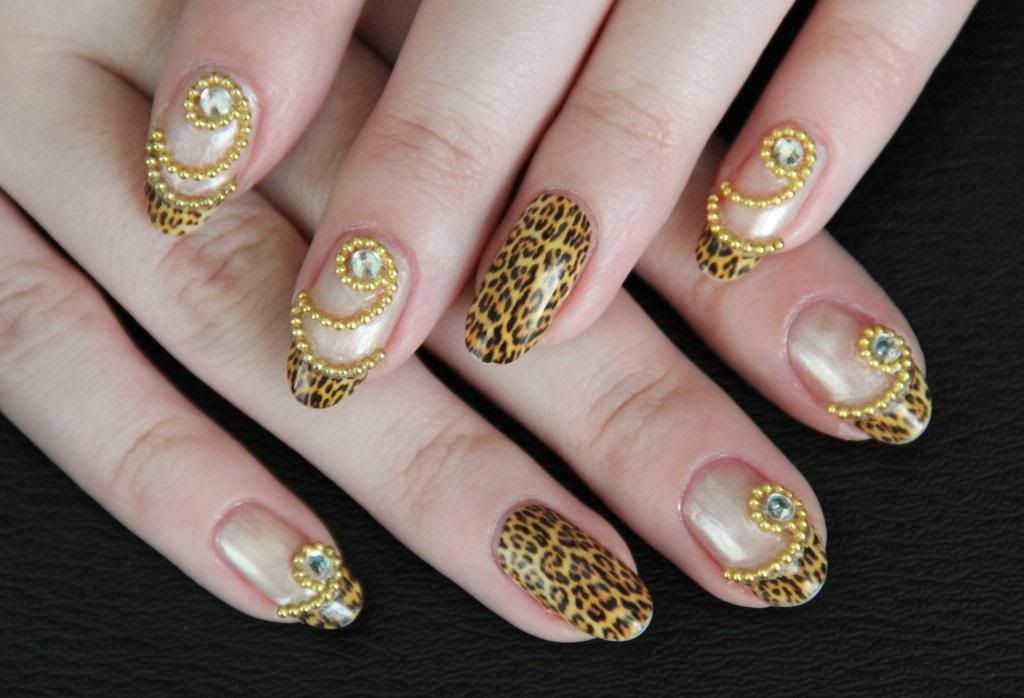
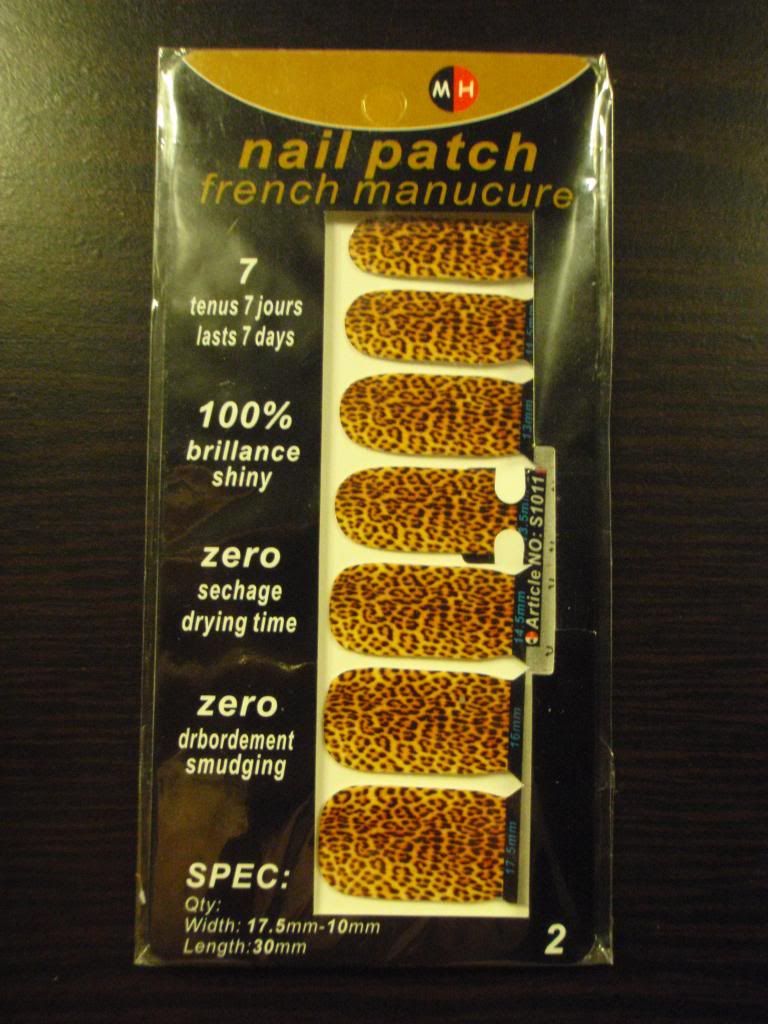
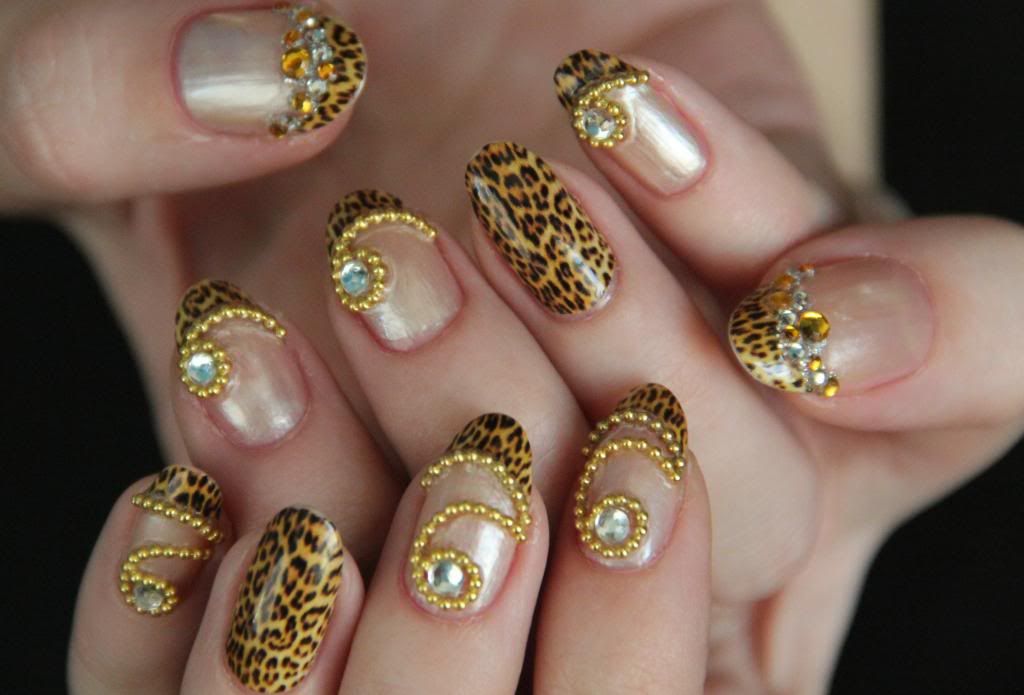
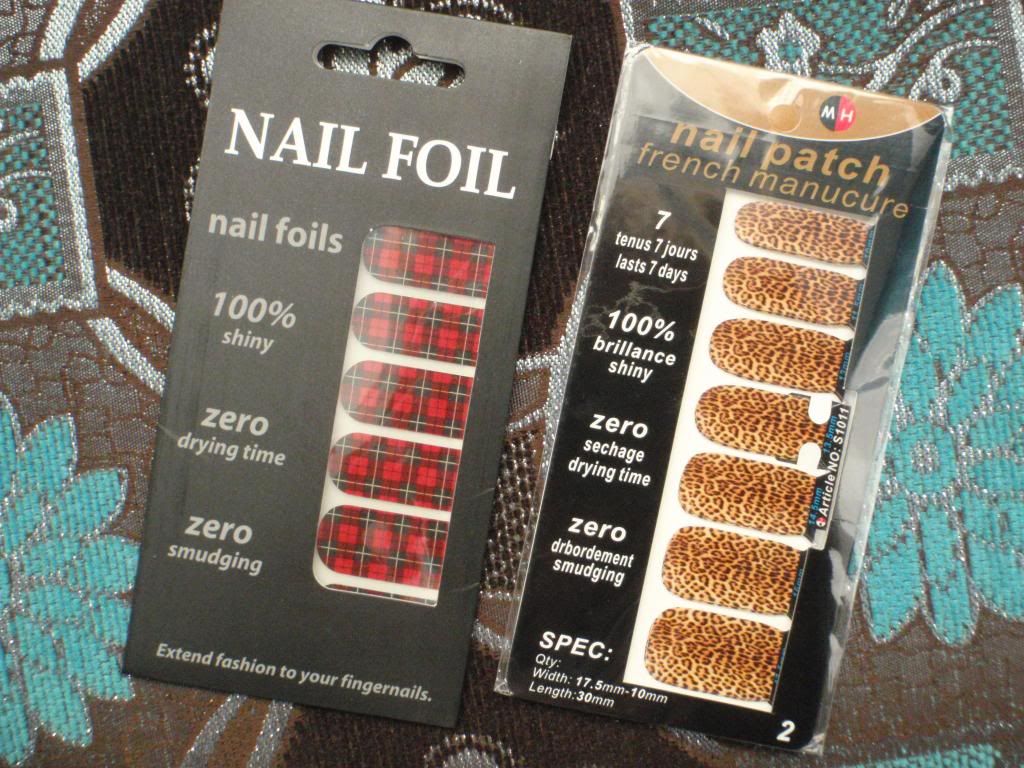
Anyway, I do have another tutorial for you. OMG Nail Strips also sent me nail polish strips to try, and I was actually looking forward to try these more than the nail foils, because I got the idea that these would work better on curved nails. So I saved the best for last! I chose the Cheetah Nail Polish Strips, because I wanted something I couldn't create by stamping or polishing. Also I love animal prints on nails! Here's how they turned out:


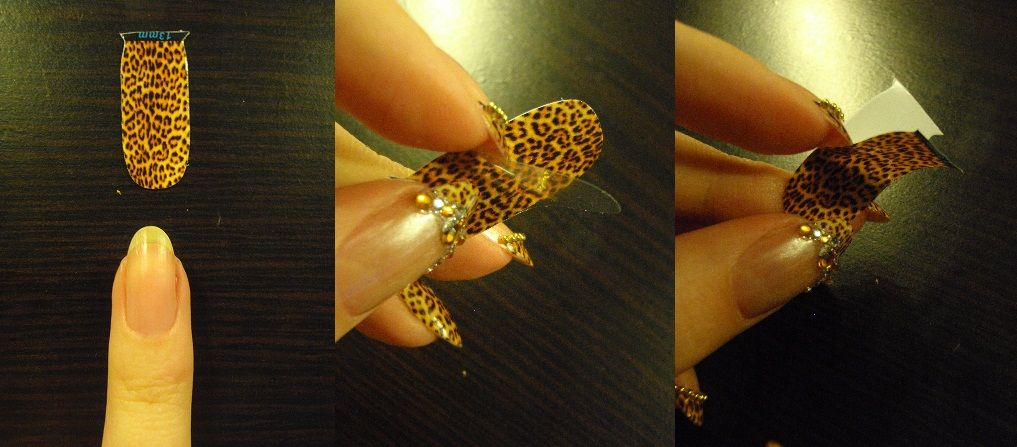
I love them! Since nail polish strips are very easy to use, I wanted to do something extra...and then I maybe went a bit over the top. :'D Now for the tutorial:


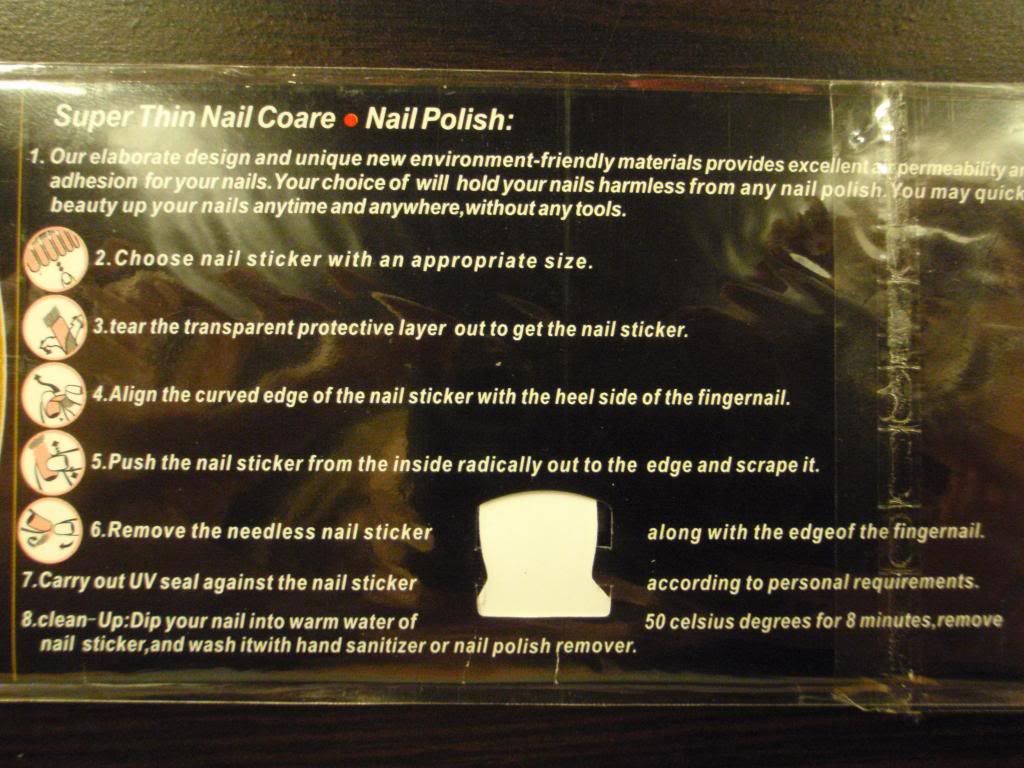
1. Pick the size that fits on your nail the best.
2. Remove the clear plastic from the top of the nail strip.
3. Remove the paper from the bottom.


4. Place the nail strip on your nail so that the round edge is towards the cuticle. It doesn't matter if the nail strip is too long, you cut the extra off later.
5. Push the nail strip with your finger starting from the middle towards the edges. You can strecth the sticker to fit perfectly even on curved nails. Smooth out any bumps or wrinkles with your finger and remove the excess nail strip from the tip with nail scissors or file and smoothen the edge of the nail strip by pressing it firmly on the tip of your nail. Top coat isn't necessary, since the nail strip itself gives a shiny finish, but I thought that it would secure the edges from peeling off.


I'm actually in love with these now, I love the fact that these are stretchy and the end result is so smooth! Even though I eventually found a way to apply nail foils smoothly (my previous post), the nail polish strips are so much easier to apply, and even get a better result! Also, needless to say, that print is just gorgeus.
I wanted to save some of these for another manicure, so I only did two nails with full cheetah print and just the tips for the rest. You don't need base coat with these, so I just did the tips first and then applied base coat and Winmax Nail Sparks 87 on the rest of the nail, not polishing over the tip. Then I added a layer of top coat and sticked the micro pearls and rhinestones on the wet polish, and added one more top coat layer over the decorations to keep them at place. Despite all the 3D stuff poking out, these surprisingly lasted for over a week, until I decided to change them. :)


What do you think? Any experiences with nail polish strips, good or bad? :)

Wednesday, January 30, 2013

Nail Foil Tutorial - How to apply nail foil on curvy nails

Hello everyone! ^^
I've always been very curious about nail foils and nail polish strips, but also quite precautious about whether they would work for me or not, since my nails are so curvy. :P I mean, I love the idea of an easy way to create complicated designs, but I've always had trouble to make even slightly larger than usual stickers to settle nicely on my nails, so what would happen with stickers that cover my entire nail? Because I wasn't sure I would like the result, I just kept to regular nail polish. However, couple weeks ago I was contacted by OMG Nail Strips, asking if I would be interested in trying free samples of their nail polish strips or nail foils. Of course I was interested! :D Finally a chance to find out what these things are all about. :)


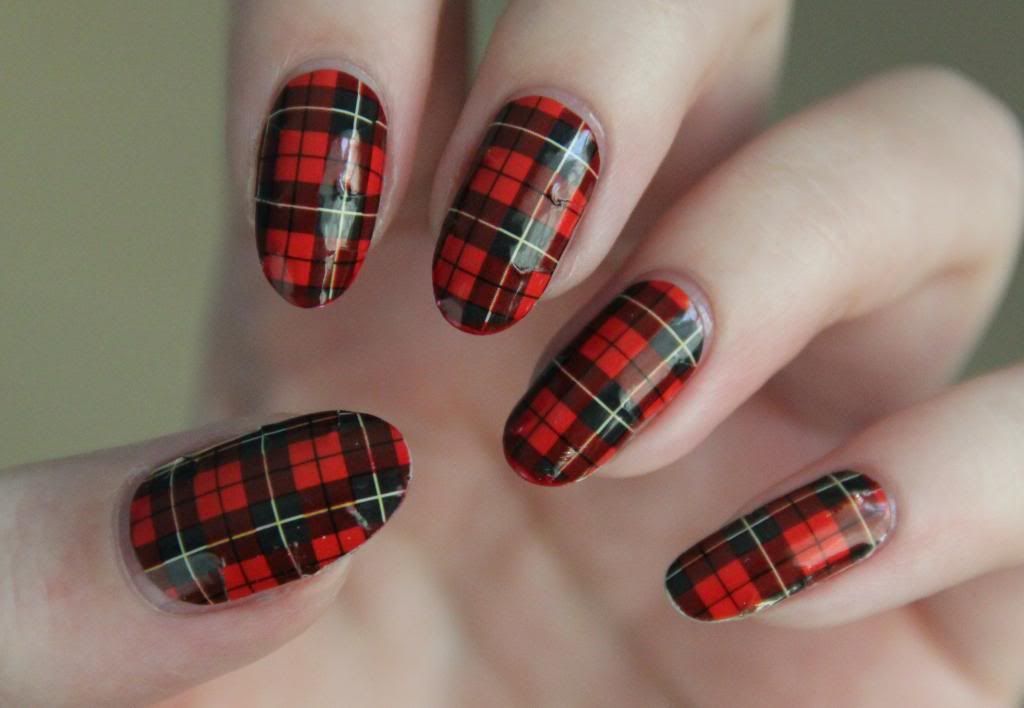
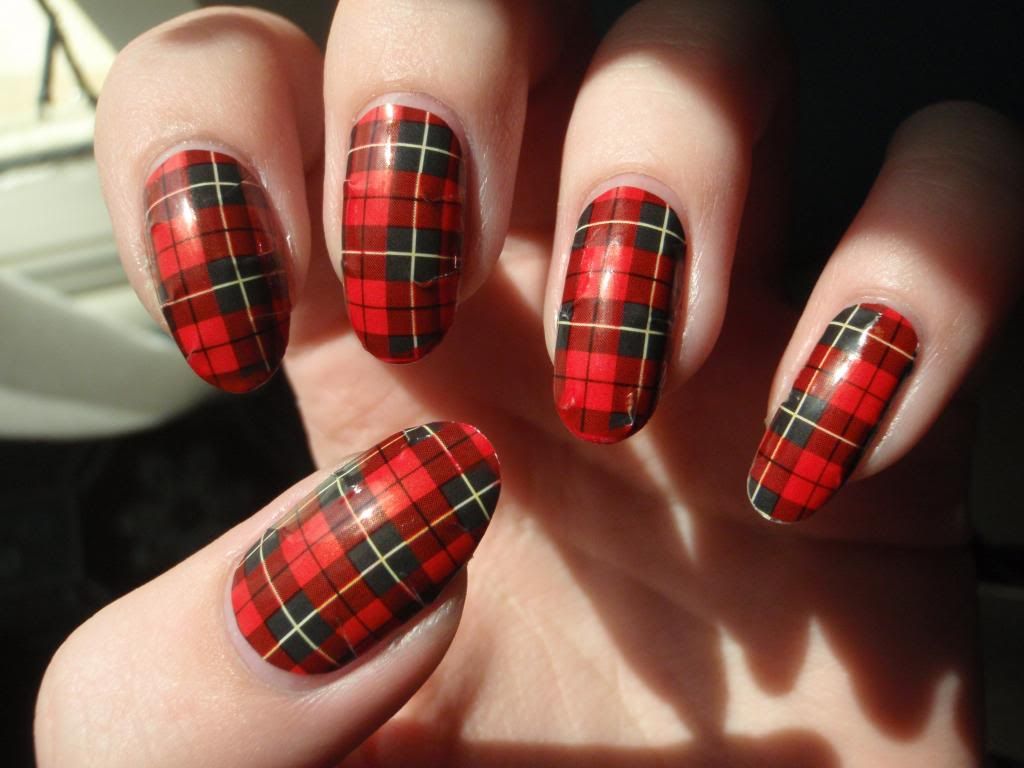
First I wanted to try the nail foils, and this is how they turned out. :) As you can see I also changed my nail shape! I've always liked my nails square, but now I wanted something different. I've had round nails once before, but I didn't really like them... Probably because I didn't make them round enough and they were too long. :P Anyway, this time I really like them!
Now for the tutorial:


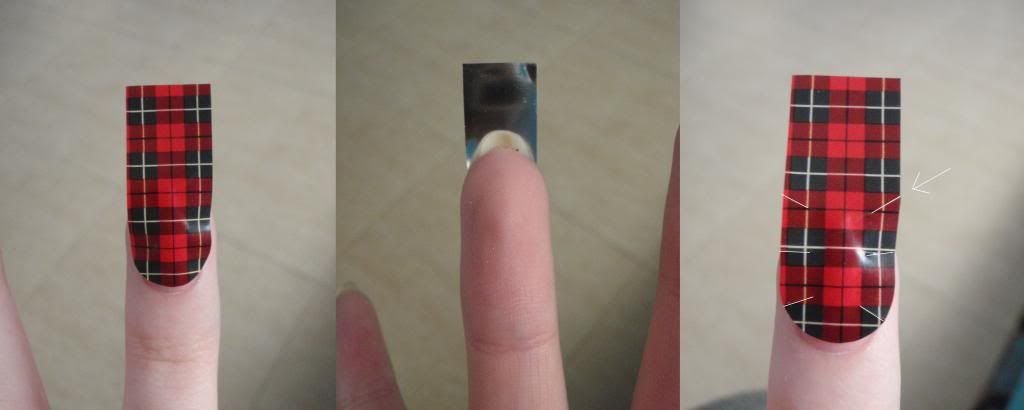
1. Pick the right size. Do not use base coat, the nail foils should be applied on clean nails!
2. You don't have to shorten it yet, just make sure the foil is wide enough to cover your whole nail.
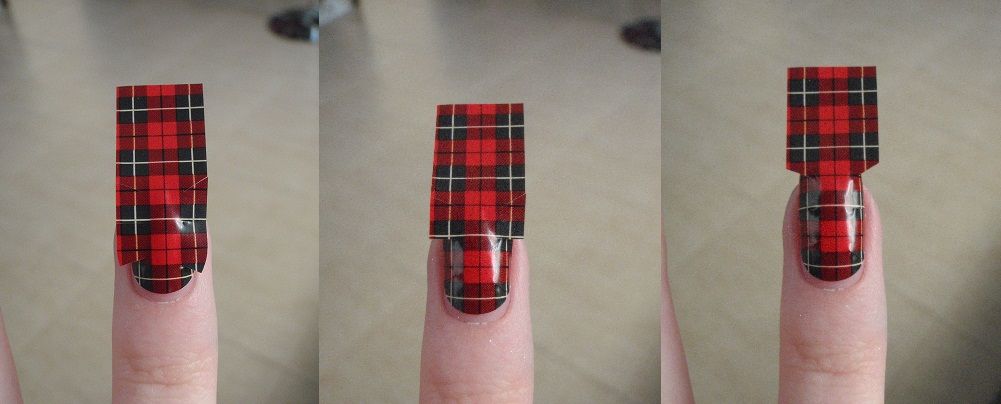
3. I had some trouble making the foil stick to my nail smoothly without bumps or wrinkles, so I came up with my own method of applying them. Cut the foil from edges towards the center as shown in the picture, depending on the length of your nails.


4.-6. Start pressing the tears on the nail surface from bottom to top, as shown in the picture. Rub them firmly to make them stick smoothly.


7. Rub the last bit firmly on the tip of your nail. It should look like this at this point. ^


8. Cut the excess foil from the tip.
9. File the edge to make it smooth, and add top coat. The top coat isn't necessary, but I found it made my nails smoother and made the edges stick better.


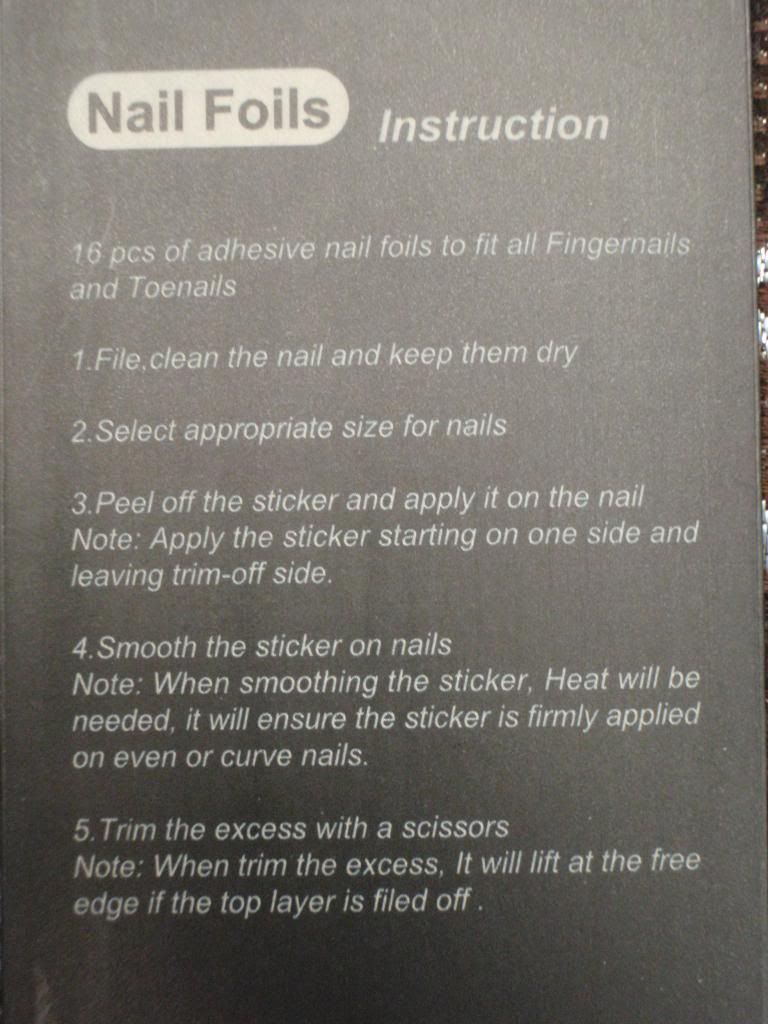
And you are done! As I expected, I struggled to apply the foils smoothly, but after I came up with the solution I'm quite happy with the result. :) One thing I didn't quite understand though, was the bit in the instructions that said 'heat will be needed'. How was I supposed to apply heat? :'D The nail foil design I chose is Red Plaid, although it was a difficult choice... Click the link for more details of the product!
Next up, the nail polish strips! ^^

Monday, January 7, 2013

Live And Let Die + my interview at Intergloss

Hello everyone! ^^
Did you guys have a fantastic start for the new year, any new year's resolutions? :)
First of all: check out my interview at Intergloss! For this week you can find it on the front page, in the Featured user section. :D 

Now for the nails. Since I already tried out GoldenEye & The Spy Who Loved Me in my Christmas manicure, I had one more Bondette to go, Live And Let Die. I must admit I wasn't as excited about this one as I was about the other ones, but it turned out to be a positive surprise!


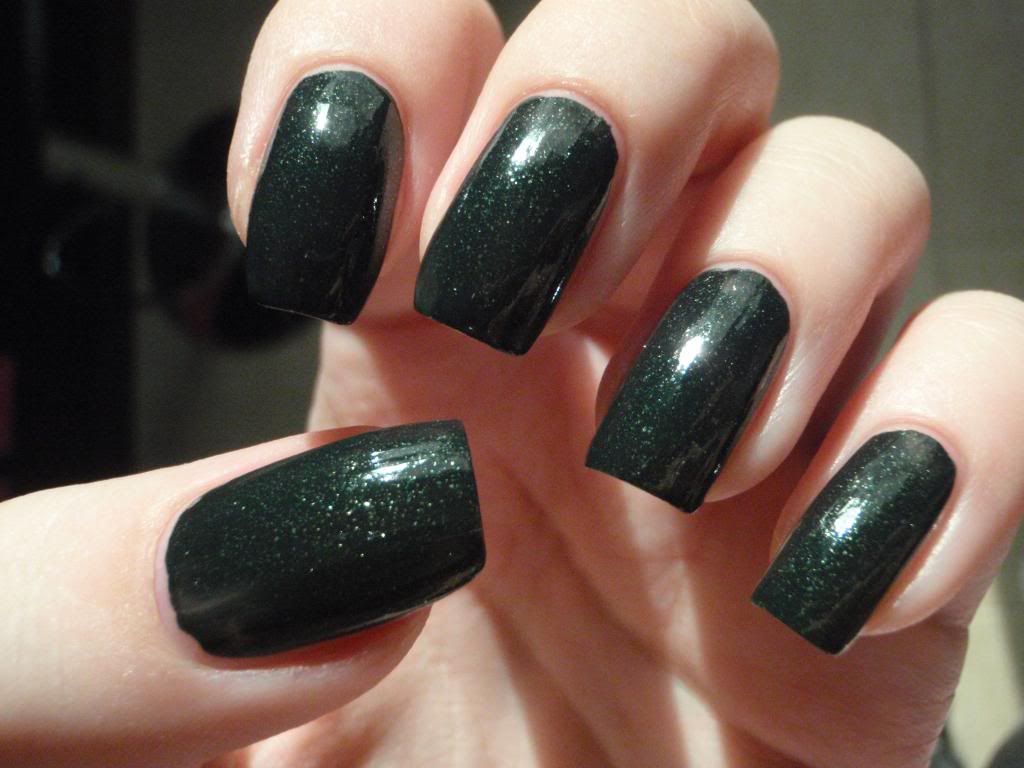
This was very covering with only one layer, but I wanted a bit more even result so I added another one. At first I thought I'd add some nail art, but then I ran out of time and well, it's nice to have something simple for a change. :) I thought I would be bored with this in two days, but it had just enough of sparkle in it to make me keep it on for a whole week. :D
With direct sunlight
Also as you probably noticed, I cut my nails shorter again... :P
See you soon, I'm planning on doing a little post of my Christmas presents! ^^

Thursday, December 27, 2012

Red & Gold Christmas Nails

I hope everyone had a peaceful christmas! ^^
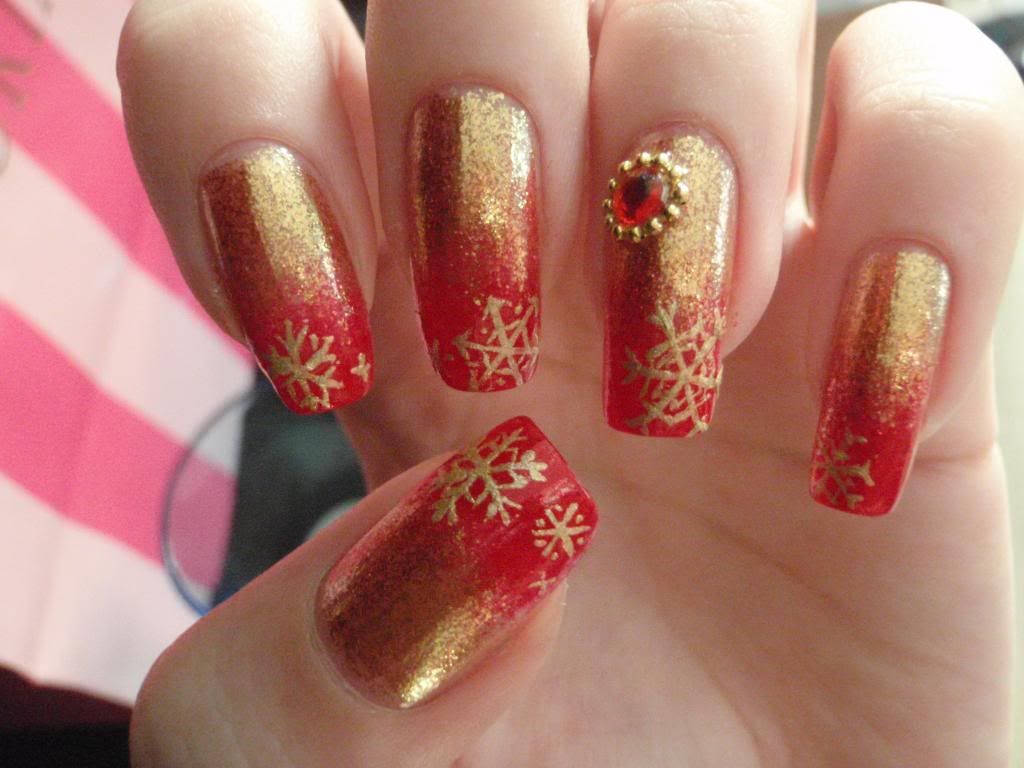
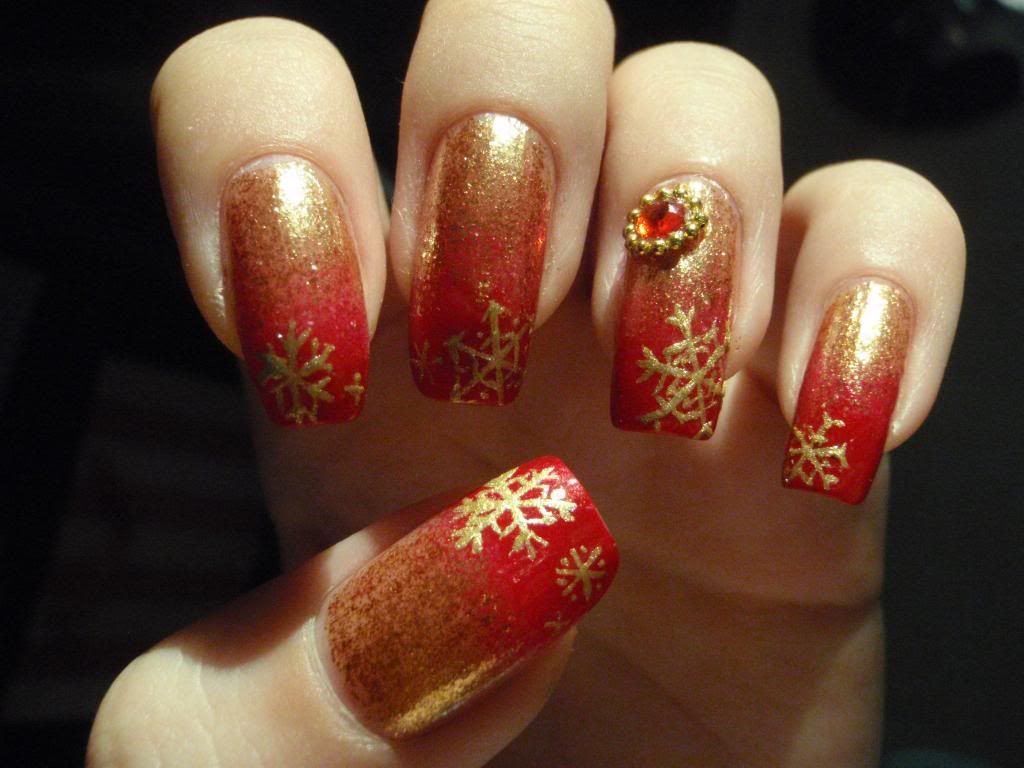
Here's how my nails looked like during the christmas holidays:


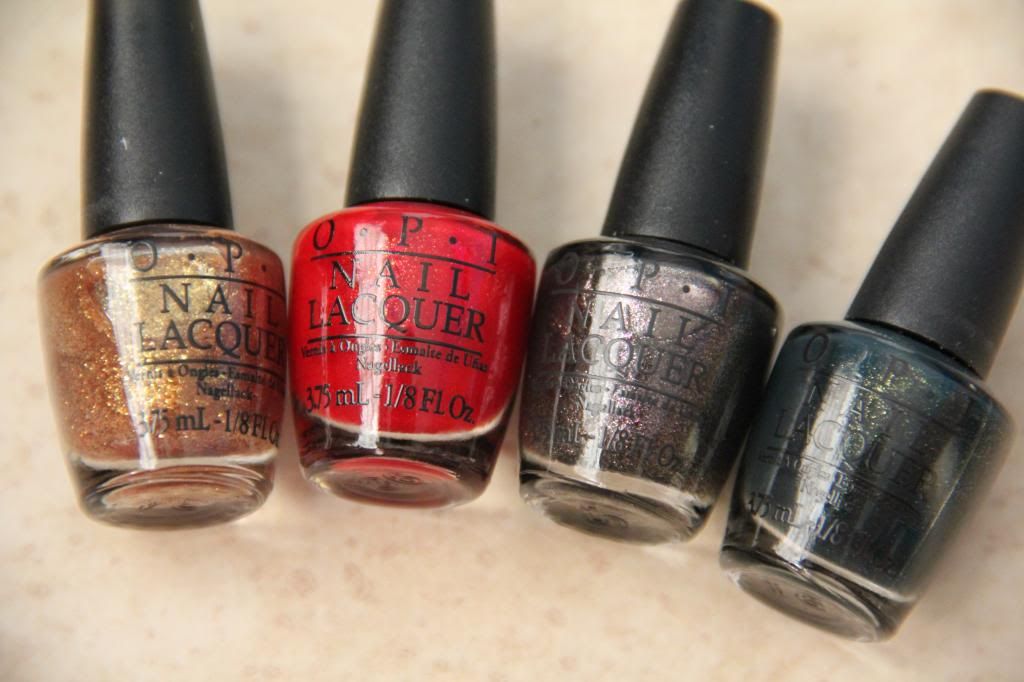
I wanted to use the mini polishes by OPI because I was so inspired by their christmasy colours! :D So first I polished my nails with two layers of Goldeneye. Then I sponged The Spy Who Loved Me on the tips, and started decorating! ^^ I used Golden Rose nail art polish for the snow flakes, and I'm so happy with the way they turned out, since it's been so long since I last did snow flakes... Then I felt they needed a little something more so I added the rhinestone on the ring finger. :)

Whee, they are so sparkly! :D I loove Goldeneye, I actually think it's my favorite polish at the moment!
See you guys soon, enjoy the holidays! ^^

Tuesday, December 25, 2012

The World Is Not Enough

Merry Christmas everyone!
Christmas nails are coming up soon, first I want to introduce the first manicure I did with my  new mini polishes. :)

I used The World Is Not Enough, which was a bit opaque, but with 3 layers I got enough coverage. Although I love all the four polishes, this was my least favorite out of them so I decided to save the best for last and start with this one. Besides Goldeneye and the Spy Who Loved Me just scream 'christmas manicure!', so that's what I'm planning to do with them. ;)


My camera doesn't do justice to this polish... I can't really decide what colour it is, which is why I had a hard time figuring out how to decorate it, but eventually I decided it's silver and went with white nail art and rhinestones. I also used tiny white roses and micro pearls. :)
Next up, christmas manicure! ^^

Sunday, December 9, 2012

New stuff!

Hello everyone!
I went to see the new Twilight movie a while back, and while I was in the mall I decided to do some shopping. :) It had been so long since I bought new nail polishes, that I decided to spoil myself a little and check out the OPI polishes...


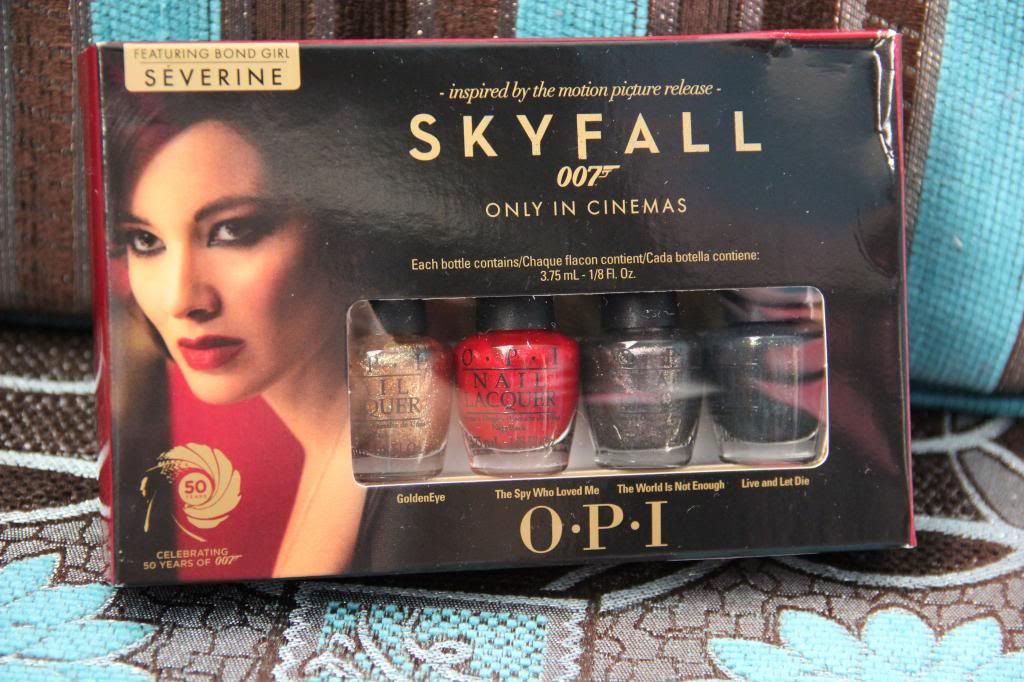
The cutest mini polishes ever! xD I just couldn't decide which one to buy, so eventually my boyfriend got tired of waiting and bought me these... :D Haha I'm so thankful for these! xD

The Bondettes! What a cute name! :D


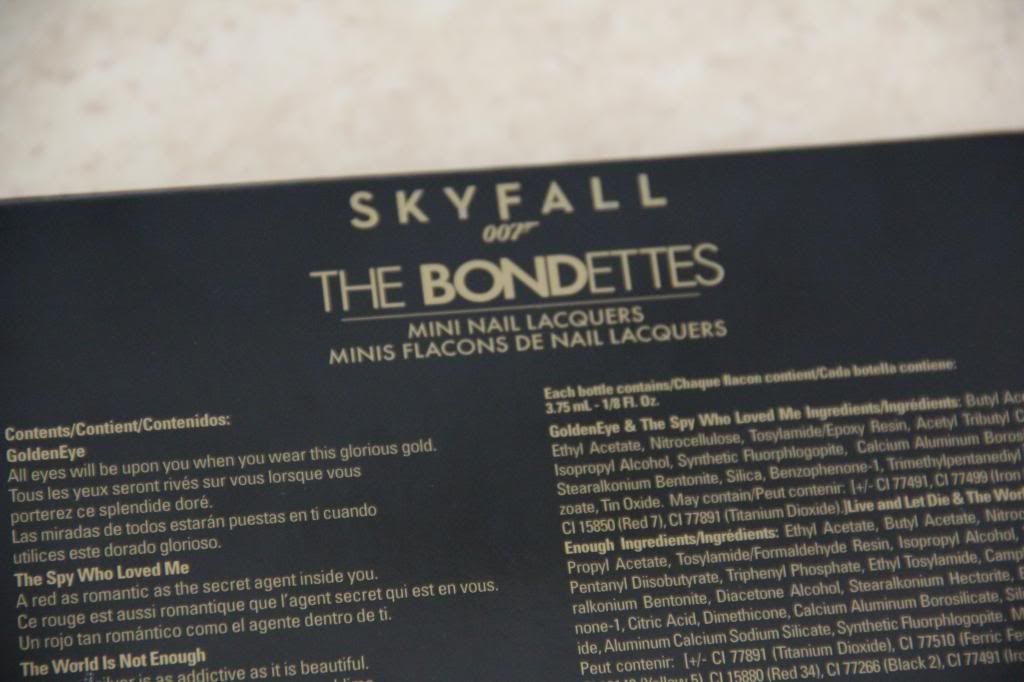
GoldenEye, The Spy Who Loved Me, The World Is Not Enough and Live and Let Die

GoldenEye is my favorite so far, it's the perfect gold polish... x) Of course I had to try these straight away, so that's coming up next time - the first Bondette manicure! ;)

Saturday, December 1, 2012

Shimmery Swirls

Hey everyone! ^^
I'm still not able to upload photos from my phone, but I figured I can send them to my email and then upload them to photobucket and then upload them here.... Complicated, I know, but for now it's the best I can do. :P


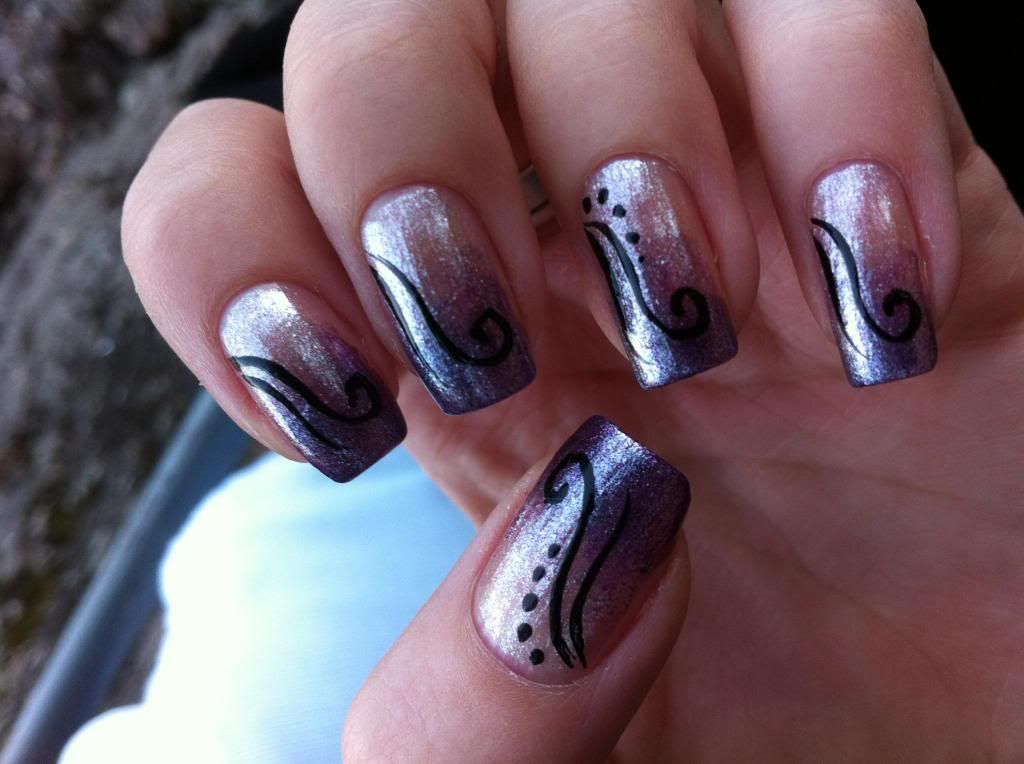
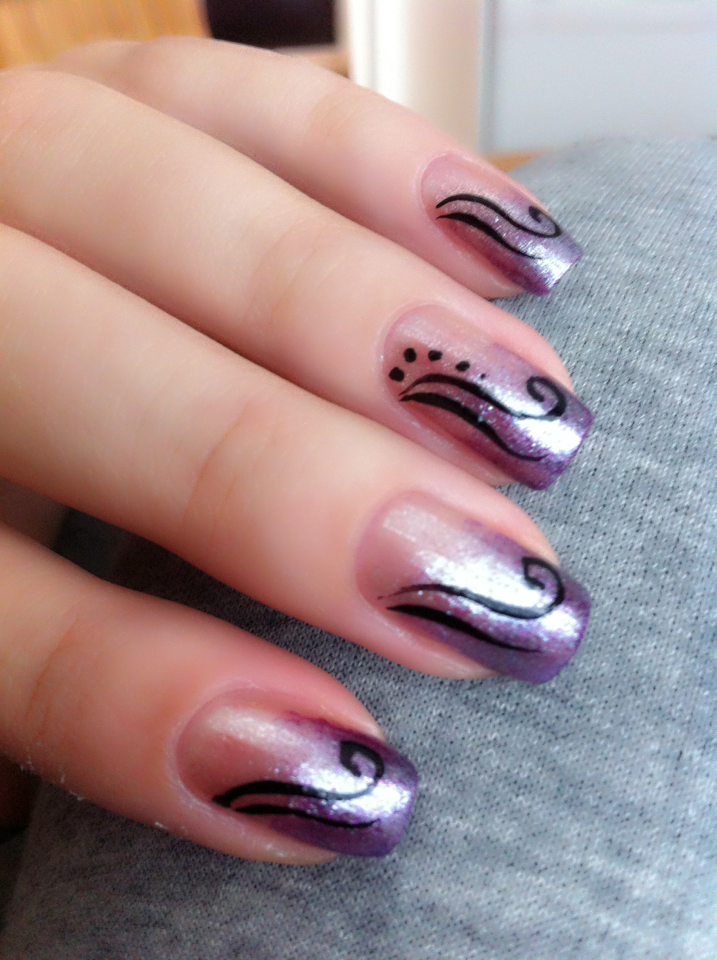
I did these nails in Finland, where I had the chance to use some of my old polishes I had left there! :') First I sponged the purple Flormal polish on the tips and then added one layer of Happy Anniversary! by OPI on top. Black swirls I did with a nail art polish.

I edited this one on my phone... Photoshop is so addicting! xD

Wednesday, November 28, 2012

Diamonds & Gold

Hello everyone!
I recovered (hopefully!) from my previous blogger crisis... Let me know if you can see the pictures, I have now started to use Photobucket, hopefully successfully! :) Thank you so much for the advise, shiny! Huh, maybe I've learnt my lesson - from now on I'll think before I upload. =_= Still, I love posts with lots of pictures, why does blogger have to be so greedy? >:(


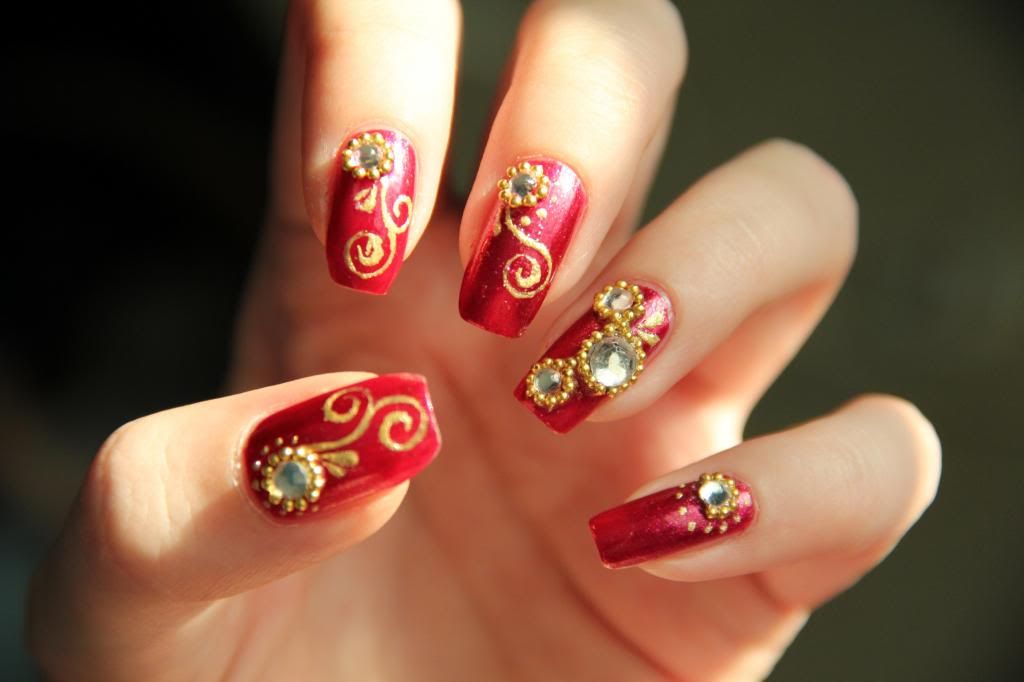
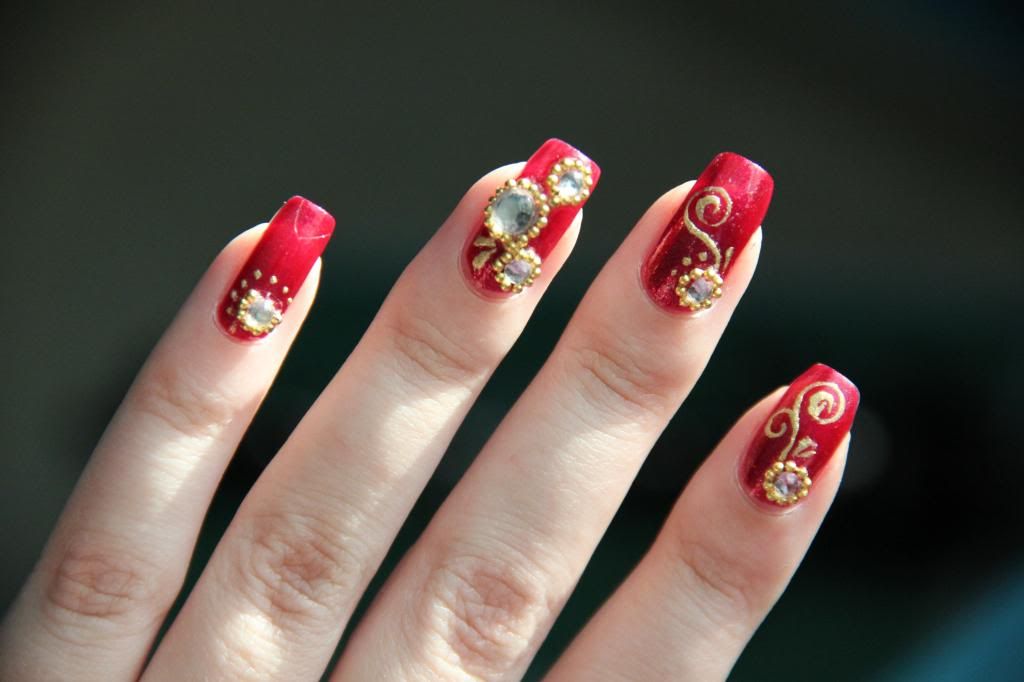
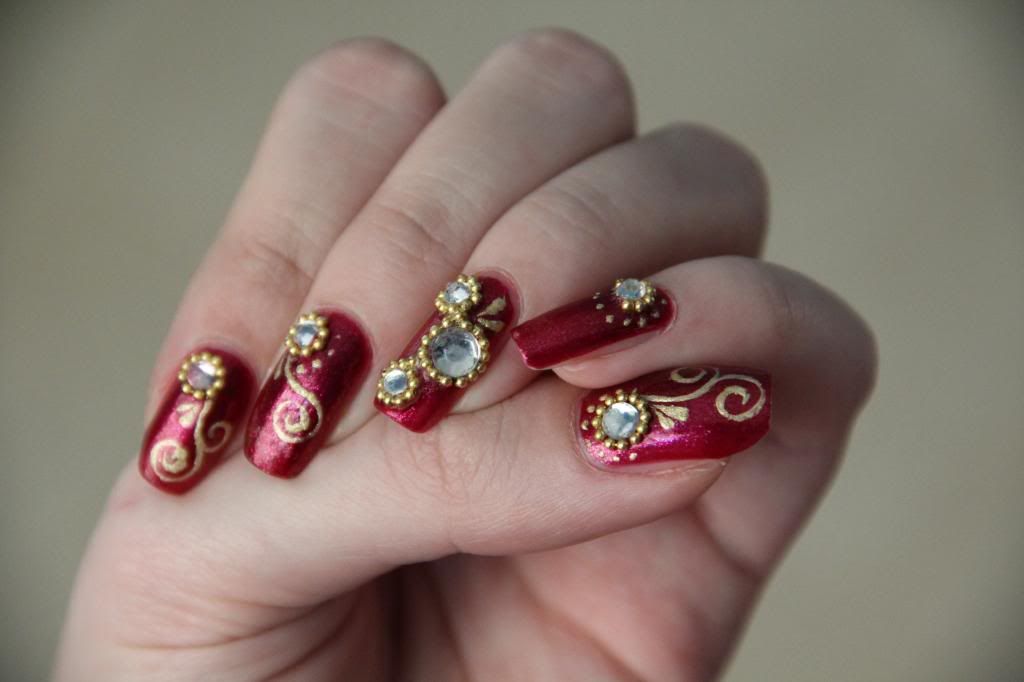
So, as I promised - my latest nails! I hadn't done anything special on my nails for so long, that I almost went over the top.... :'D But I am so happy with the result! Also I kinda felt I had to prove myself I can still create beautiful nail art and details!


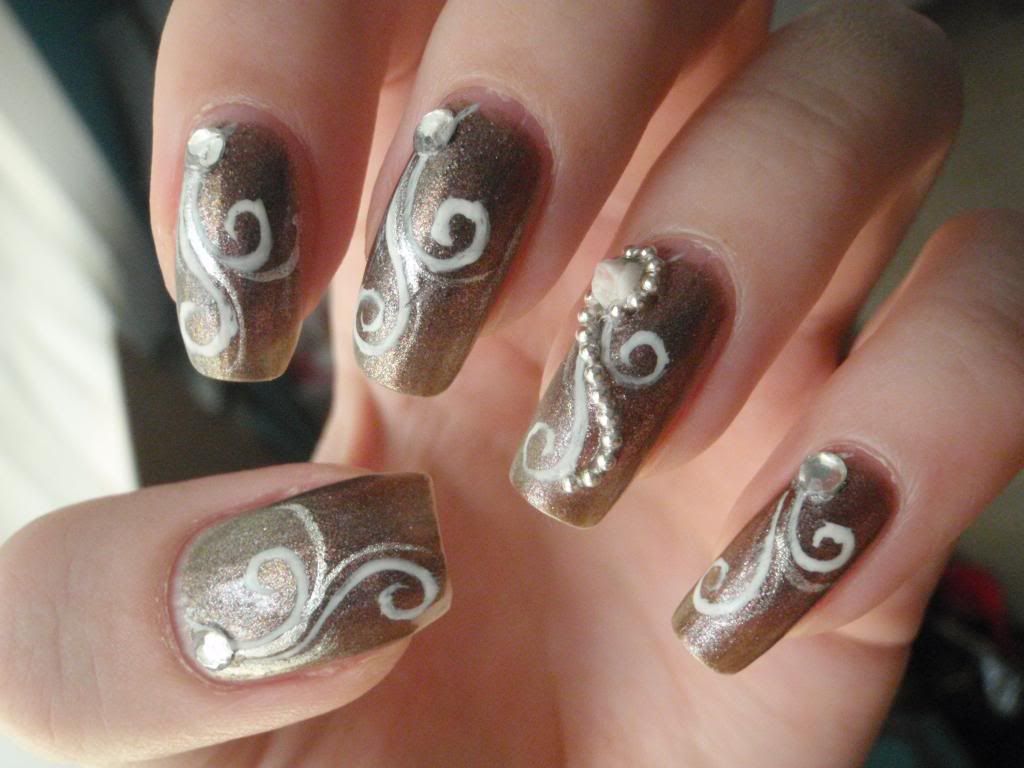
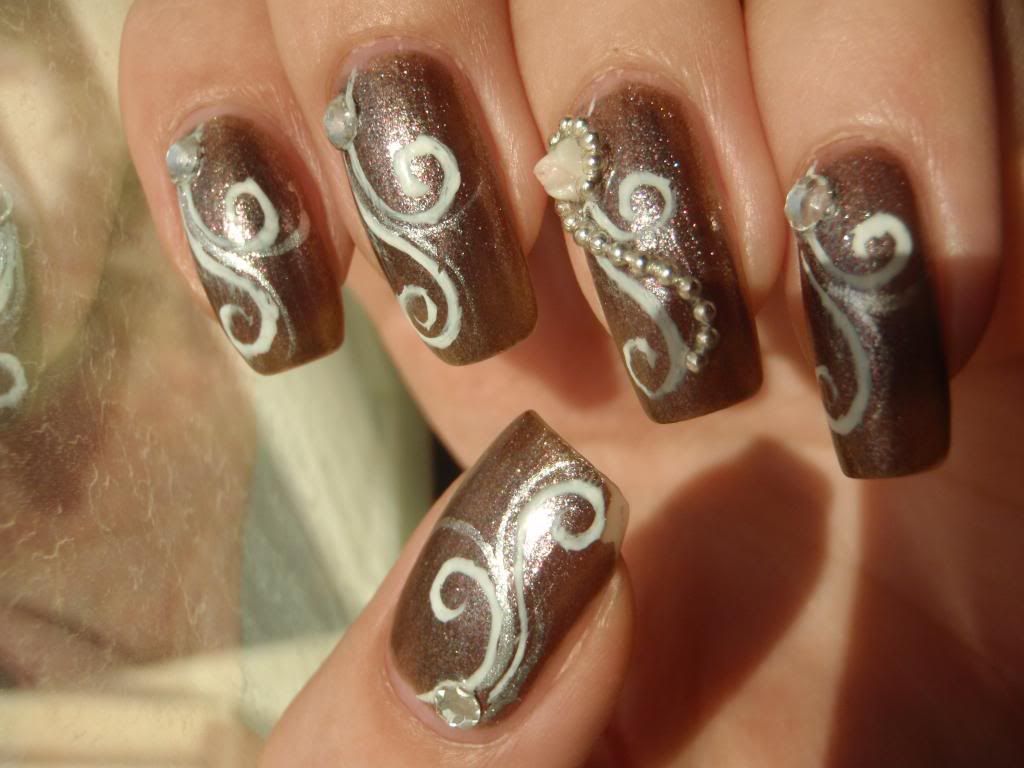
I used Be a Dahlia Won't You? by OPI and Golden Rose nail art polish in gold for the swirls. I just love that polish, it would've been gorgeus even without the decorations but oh well. The diamonds and micro pearls are from a local craft store. :)
Also, lately I havent been happy with the quality of the pictures on my old Olympus digital camera, so I've tried to take my nail photos with my Canon supercamera... xD Sadly I only have this huge zoom lense, which is perfect for taking pictures from long distance, not so great for trying to take close ups from your own nails if you know what I mean... :'D Haha, I need my own nail photographer if I wanna keep up with that camera. :P What do you guys think of the quality? worth it?


I know these are a bit out of focus, I have to use auto focus because I can't focus manually with one hand. ::D Well, I keep practising, see you soon! ^^

Tuesday, November 27, 2012

What the ****, Blogger?? -.-

Blogger doesn't let me upload photos anymore!
Seriously now, is this some sort of revenge for taking a break from blogging? D: I was writing a new post today and when I tried to upload the photos, this text popped up:


"Hups! Tallennustila loppui. 100 prosenttia 1 gigatavun suuruisesta valokuvien tallennuskiintiöstä on tällä hetkellä käytössä. Hanki lisää tilaa"*

*"Oops!  You ran out of storage space. 100 % of 1 GB photo storage quota is currently in use. Get more space"

And when I clicked the link, I found out that that to get more storage space, I would have to buy it. For 25 Gt 2,49 $ / month and for 100 Gt 4,99 $ / month. Are you serious? When I created my blog, it said (and still says):

"Luo Blogi. Se on ilmaista."*

*"Create a blog. It is free."

Yeah sure! This is so annoying... Has any of you guys faced the same problem? What did you do? Please, if anyone knows another way to upload pictures for free, all advise is so welcome!! :(

Onko kukaan kohdannut samaa ongelmaa? Onko muita vaihtoehtoja?? Auttakaa, kaikki neuvot on tervetulleita! 

Saturday, November 24, 2012

Sorry for the disappearance

Hey everyone!
It's been so long since I last posted, and my last post wasn't even about nails... I'm so ashamed xD Anyway I've been suffering from some technical difficulties, does anyone know how to get photos and videos from iphone to laptop? I've got over 1000 photos on my phone, but for some reason when I try to transfer them on my laptop it says "no photos or videos found"! Aaarrg I miss my old and faithful Nokia... :'( Anyway that's not my excuse, I do have some nail photos on my camera too.... ^^'
Oh well, let me introduce you an old glitter manicure I realized I forgot to post here. I did this probably almost a year ago, so next up are some more recent manicures. :) This one is just a simple glitter gradient mani, but I really liked it so I thought it deserves to be posted! :D


Lately I've been keeping my nails shorter, I miss the old lenght now! :'D
Okay, at least now I have loads of new nail designs to show so I won't be running out of ideas any time soon... Stay tuned guys, see you soon! ^^


Tuesday, June 5, 2012

My Artwork

I have finally finished all my exams! :D I feel so free... xD
Yesterday we had an art exhibition, and all my artwork I have done at school last year & this year was put up. I worked so hard, and it was amazing to actually see all my work up on that wall at the same time... :'D Anyway I wanted to share couple pictures with you guys:

All my work! :D
Unit 2 final piece - my topic was meeting of two cultures. :)
Unit 1 mock exam piece - pop art
Unit 1 final piece - my topic was portraits.
Acrylic on canvas. One of my favorites, and also I think this one required the most work... :'D
With the artist ;D
What do you guys think? :D Is anyone interested in taking a look at my sketchbooks?
ps. I know this post isn't exactly about nail art, but art is art... :'D